
Optimage: compress and crop your images
Compress, resize, crop and convert up to 30 images at once to WebP, right in your browser, before you put them on Shopify.
Images are almost always the heaviest part of a store. Optimage lightens them before you put them on Shopify: it compresses, resizes, crops and converts them to WebP, in batches. Everything happens in your browser: your images are never sent to our servers.
When to use Optimage
- Before uploading a photo to Shopify: a camera or stock photo is often several megabytes and several thousand pixels wide, far more than a screen displays.
- When the "Image weight" report flags an image as "Too heavy" or "Too large": the report's Optimise my images with Optimage button brings you here. See The "Image weight" report.
- To prepare a specific format: a 16:9 banner, a square visual, a vertical image for mobile.
A lighter image displays faster, especially on mobile, and it's one of the simplest ways to improve your store's speed.
Add your images
- In your member area, open Optimage.
- Drag your images into the Drop your images here area, or click click to browse to choose them.
- The images appear under Loaded images, with their name, dimensions and weight. The Original badge shows they haven't been processed yet.
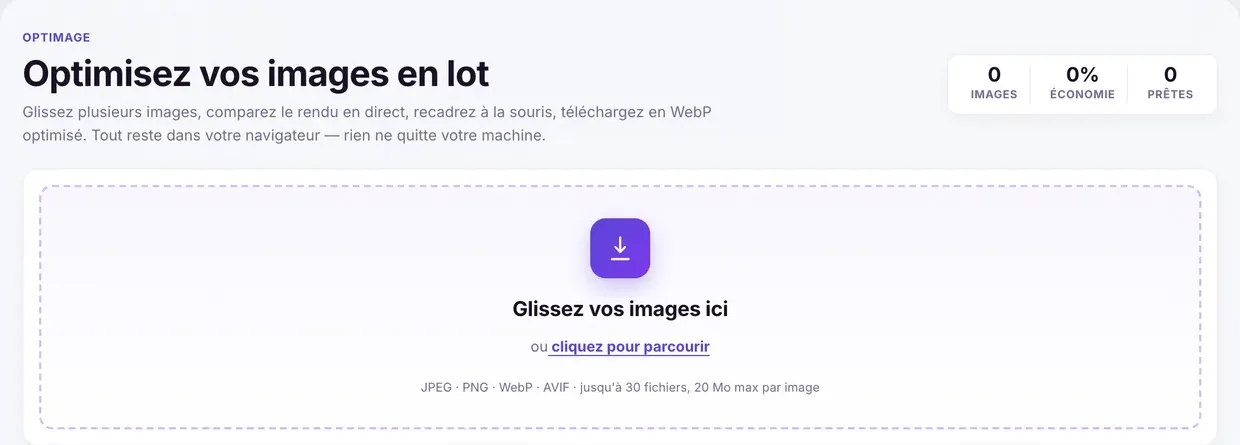
Accepted formats: JPEG, PNG, WebP and AVIF. You can load up to 30 images at a time, 20 MB maximum each. A rejected file (format or size) is flagged with a message and simply skipped.
Choose the settings
The Global settings panel applies to all images. The Live preview on the right shows the result on a sample image, with the Target size, the Estimated weight and the Saved amount.
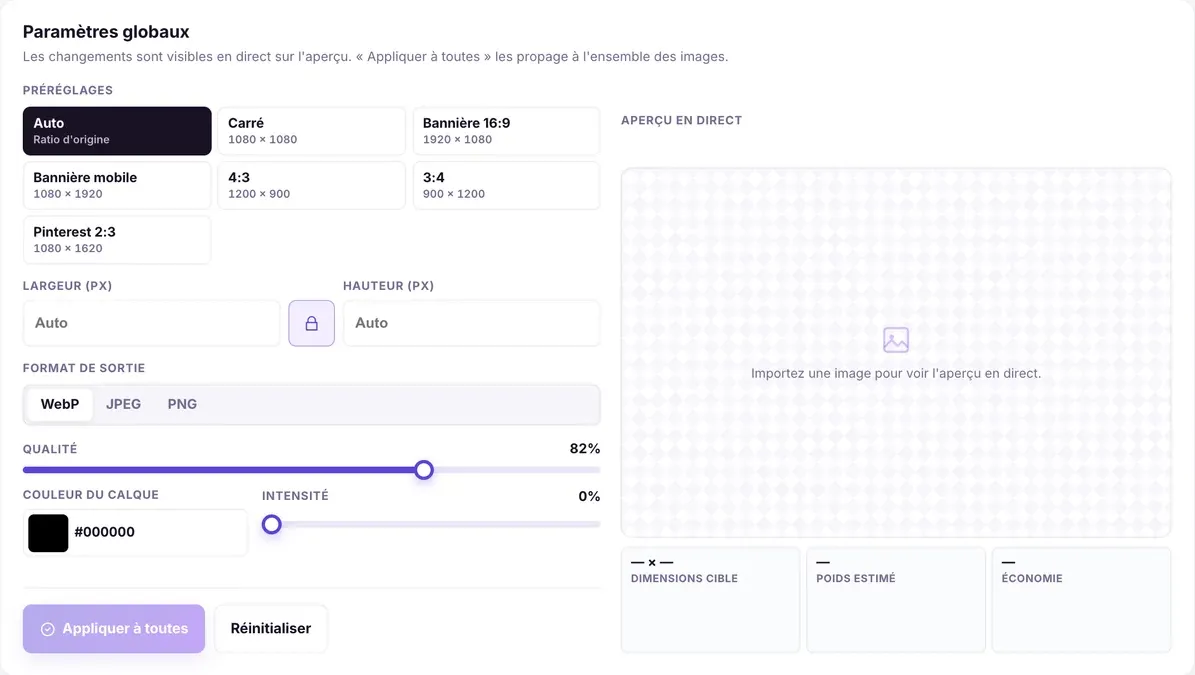
Presets and dimensions
| Preset | Dimensions | What it's for |
|---|---|---|
| Auto | Original ratio | Keep the framing, just lighten |
| Square | 1080 × 1080 | Product photos, social media |
| Banner 16:9 | 1920 × 1080 | Desktop banner |
| Mobile banner | 1080 × 1920 | Vertical banner for phones |
| 4:3 | 1200 × 900 | Image with text, landscape visuals |
| 3:4 | 900 × 1200 | Portrait photos |
| Pinterest 2:3 | 1080 × 1620 | Pinterest pins |
You can also enter a Width (px) and a Height (px) yourself:
- on Auto, with no width or height, the image keeps its dimensions: only compression and format change;
- with only one dimension, the other follows the original proportions;
- with both, or with a preset, the image is cropped to fit that format. Cropping is centered by default; you can move it image by image (see below).
Format and quality
- Output format: WebP (selected by default, and recommended: it's the lightest at equal quality), JPEG or PNG. With PNG, the quality setting doesn't apply.
- Quality: from 40 to 100%, 82% by default. That's a good balance: below 70%, check the preview, as artifacts may appear.
Color overlay (optional)
Overlay colour and Intensity put a color tint over the image. This is useful for a banner that will carry light text: a black overlay at 20 or 30% makes it readable. Leave the intensity at 0% to change nothing.
Optimize and download
- Click Apply to all. Images are processed one after another; the badge changes to Optimised and each card shows the new weight and the percentage saved.
- To adjust a single image, click Customise on its card. In the drawer, the Crop tab lets you drag the visible area; change the settings if needed, then click Optimise this image.
- Click Download under an image, or Download all to get every processed image. Files download one by one; your browser may ask you to allow multiple downloads.
Downloaded files keep their original name followed by -optimised (for example banner-optimised.webp).
Put the images on Shopify
Optimage doesn't send anything to your store: upload the downloaded files yourself.
- For a product photo: open the product in Products, delete the old image and add the new one.
- For a section image (banner, image with text…): in the theme editor, select the section and replace the image in its settings.
- To keep everything in one place: Content > Files in the Shopify admin.
Remember to fill in each image's alt text: it matters for SEO (see Read and use the SEO report).
Limits to know about
- Nothing is saved: if you reload or leave the page, the gallery is cleared. Download your images before you leave.
- Animations aren't supported: an animated GIF loses its animation (only the first frame is kept). For a heavy animation, convert it to an MP4 or WebM video instead.
- The result can be heavier than the original: the card then shows a percentage preceded by "+". This is common with PNG or with an already heavily compressed JPEG. Try WebP, or keep the original.
- The preview's Estimated weight is an estimate; the actual weight shows on the card after processing.