Create a contact page with the Story Theme
Create your contact page from the included template: contact details, opening hours, a form built field by field and frequently asked questions, with no app.
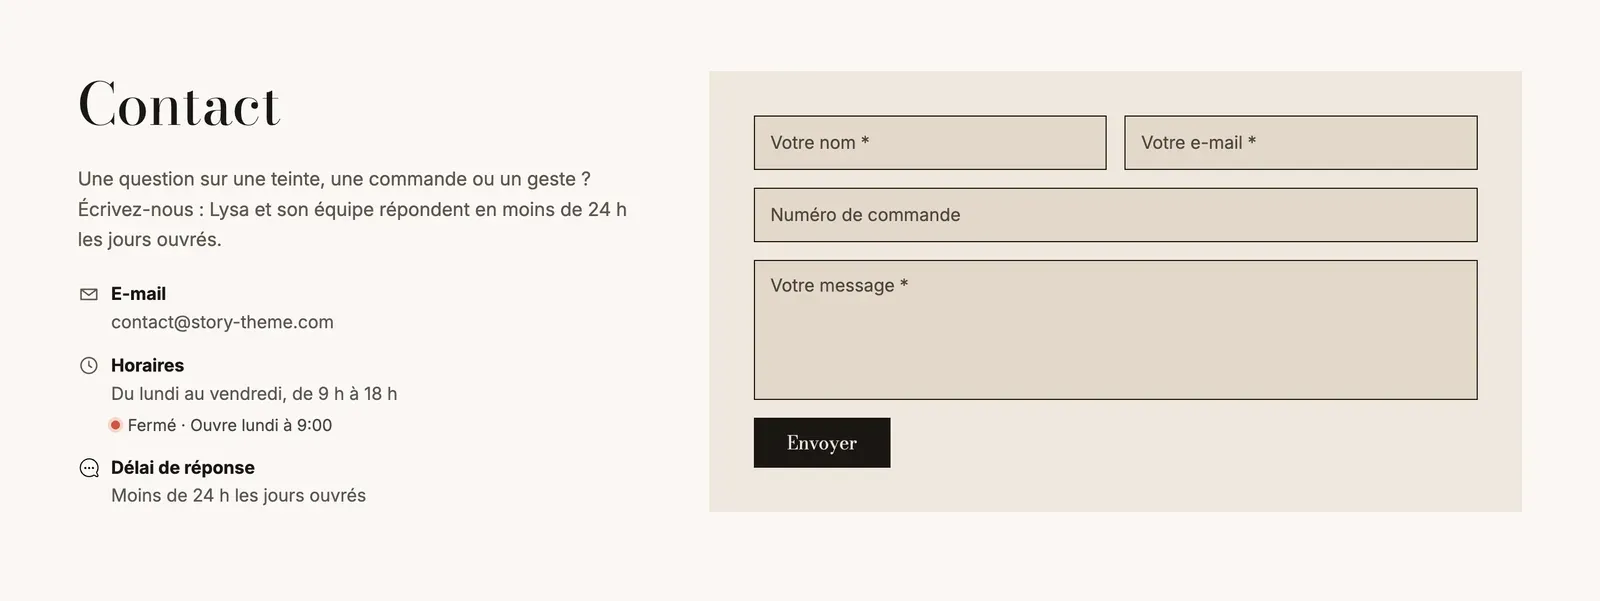
The contact page reassures your visitors: they see that a team answers, and how to reach it. The Story Theme includes a ready-built template, with your contact details, your opening hours, a form and a few frequently asked questions to head off unnecessary messages. For details on its settings, see also the Contact section.
1. Create the page in Shopify
- In your Shopify admin, open Online Store > Pages, then click Add page.
- Enter the title, for example "Contact". The content can stay empty.
- Under Theme template, on the right, choose contact.
- In Search engine listing, check that the URL handle is
contact. - Click Save, then add the page to your menu. See Create a page and add it to the menu.
2. Fill in your contact details
- Open Online Store > Themes > Edit theme, then choose Pages > contact from the dropdown at the top.
- Expand the Contact section, then the Group on the left: it contains the Page title, an introductory Text and the Contact information block.
- In Contact information, click Email, Phone and Address. Leave the Text field empty to automatically use your store's details, or enter different ones.
- Add a WhatsApp block if needed (your number with the country code, for example +1 555 123 4567), a Link or a Text block. Delete the blocks you don't need: an address makes no sense if you don't receive customers.
The details filled in automatically come from your store details, in Shopify's Settings > General. The Contact information block is covered in Footer blocks: it can also be used in the footer.
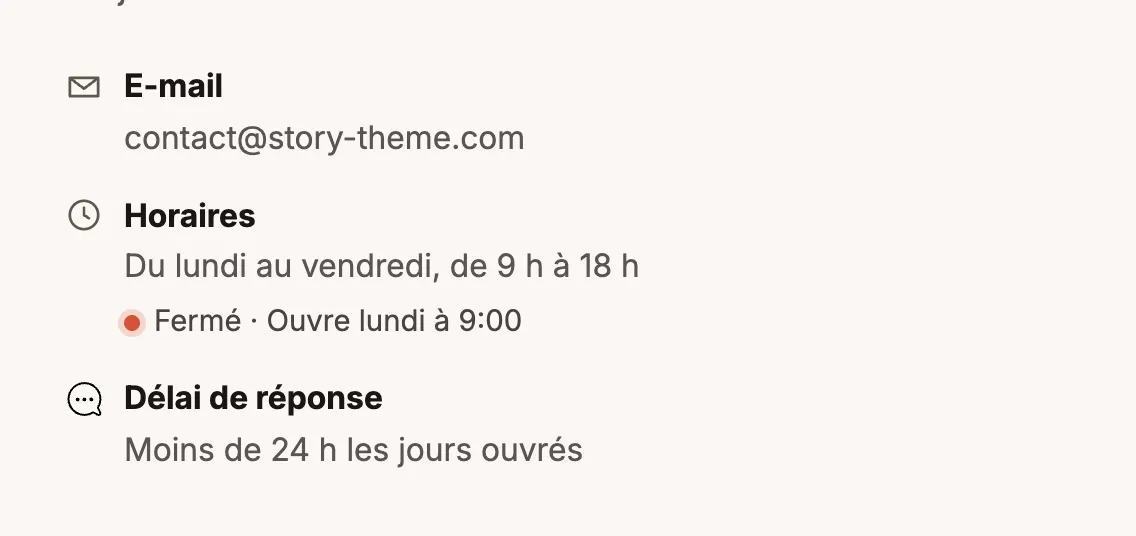
Show "Open" or "Closed" live
- Click the Opening hours block and enter the Text to display, for example "Monday to Friday, 9 am to 6 pm".
- Check Show open or closed now.
- Fill in Monday to Friday, Saturday and Sunday in the
09:00-18:00format (or09:00-12:30, 14:00-19:00with a break). Leave a day empty if you're closed.
Visitors then see a green or red indicator, calculated in your store's time zone.
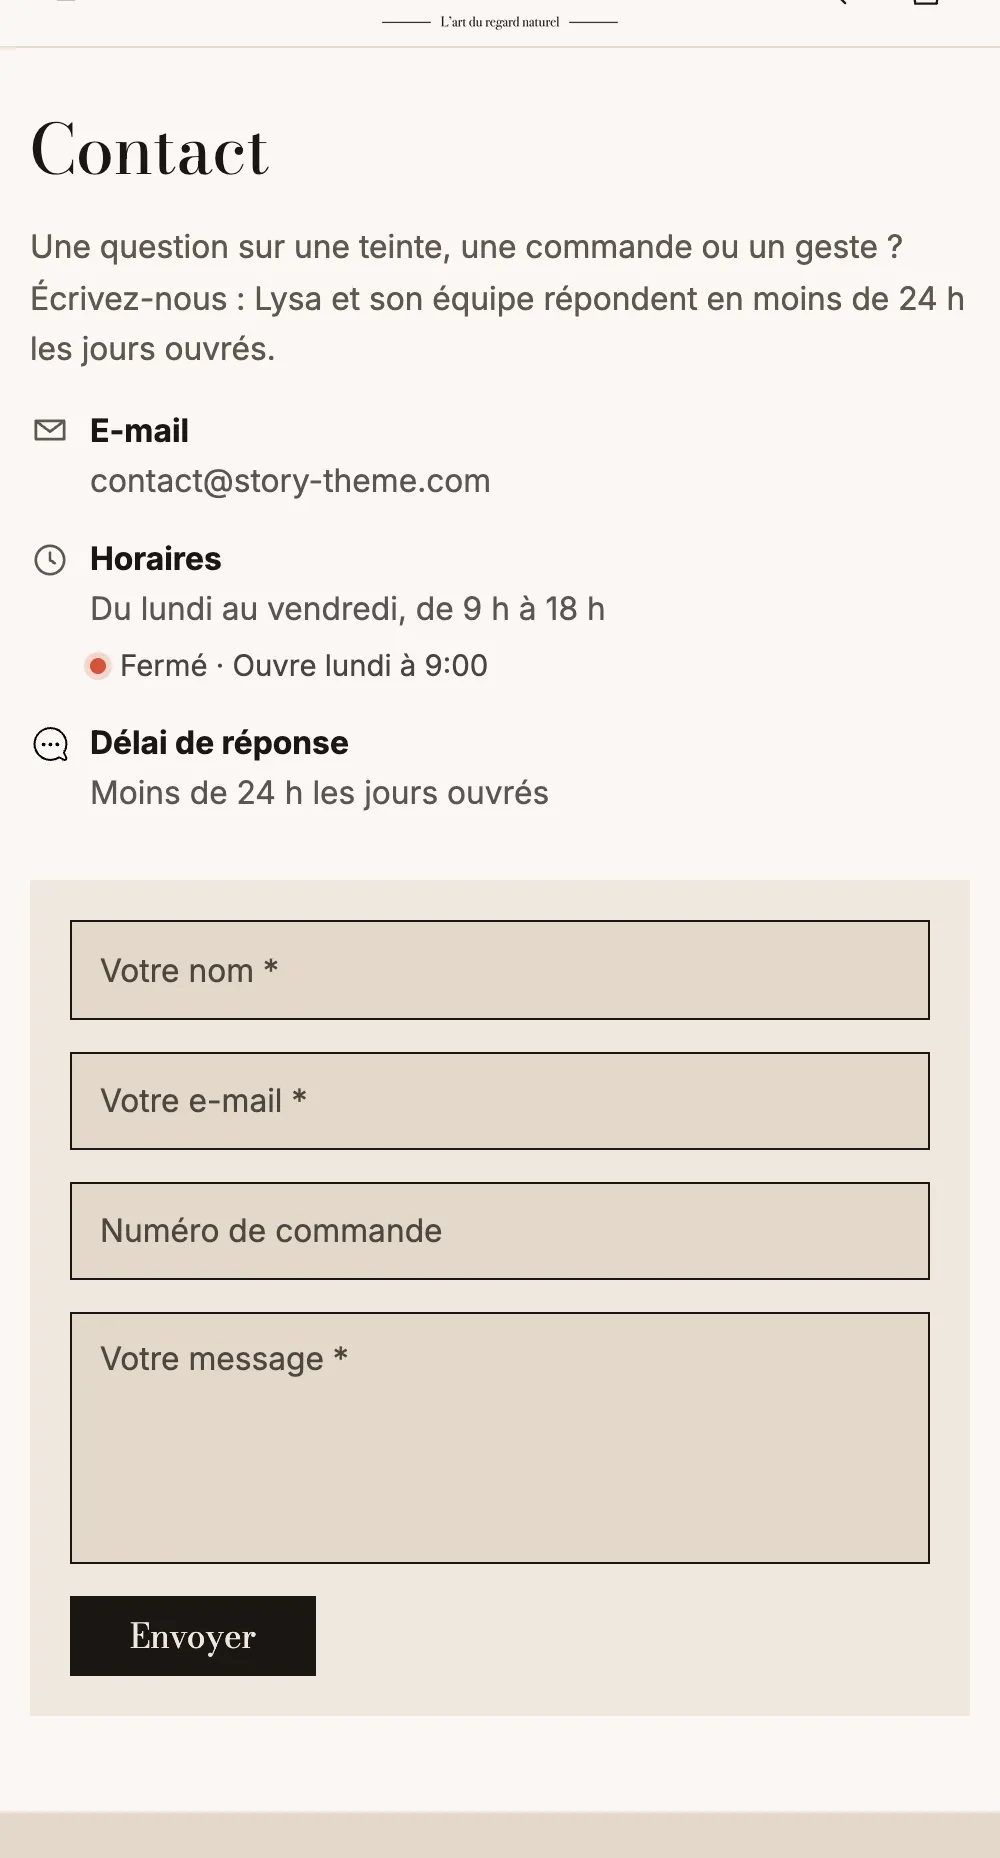
On mobile, the contact details move above the form:
3. Choose the form fields
The Contact form block comes with five fields: Full name, Email, Phone, Order number and Message. Each field is a block you can edit, move or delete.
- Click a field. Set its Label and its Placeholder, and check Required if the answer is essential.
- To add a field, click Add block in Contact form and choose its type.
- For lists (Dropdown, Single choice, Subject), enter the options in Choices, one per line.
| Field | Best for |
|---|---|
| Full name, or First name and Last name | Knowing who you're replying to. |
| Always there: it's the address you'll reply to. | |
| Phone, Company | Business inquiries or callbacks. |
| Order number | Customer service: you find the order right away. |
| Subject | Sorting messages (product question, return, partnership…). Left empty, it stays a free-text field. |
| Message | The text of the request. Set its Height (lines). |
| Short text, Dropdown, Single choice, Checkbox, Date, Number | Any other information, for example an event date or a quantity for a quote. |
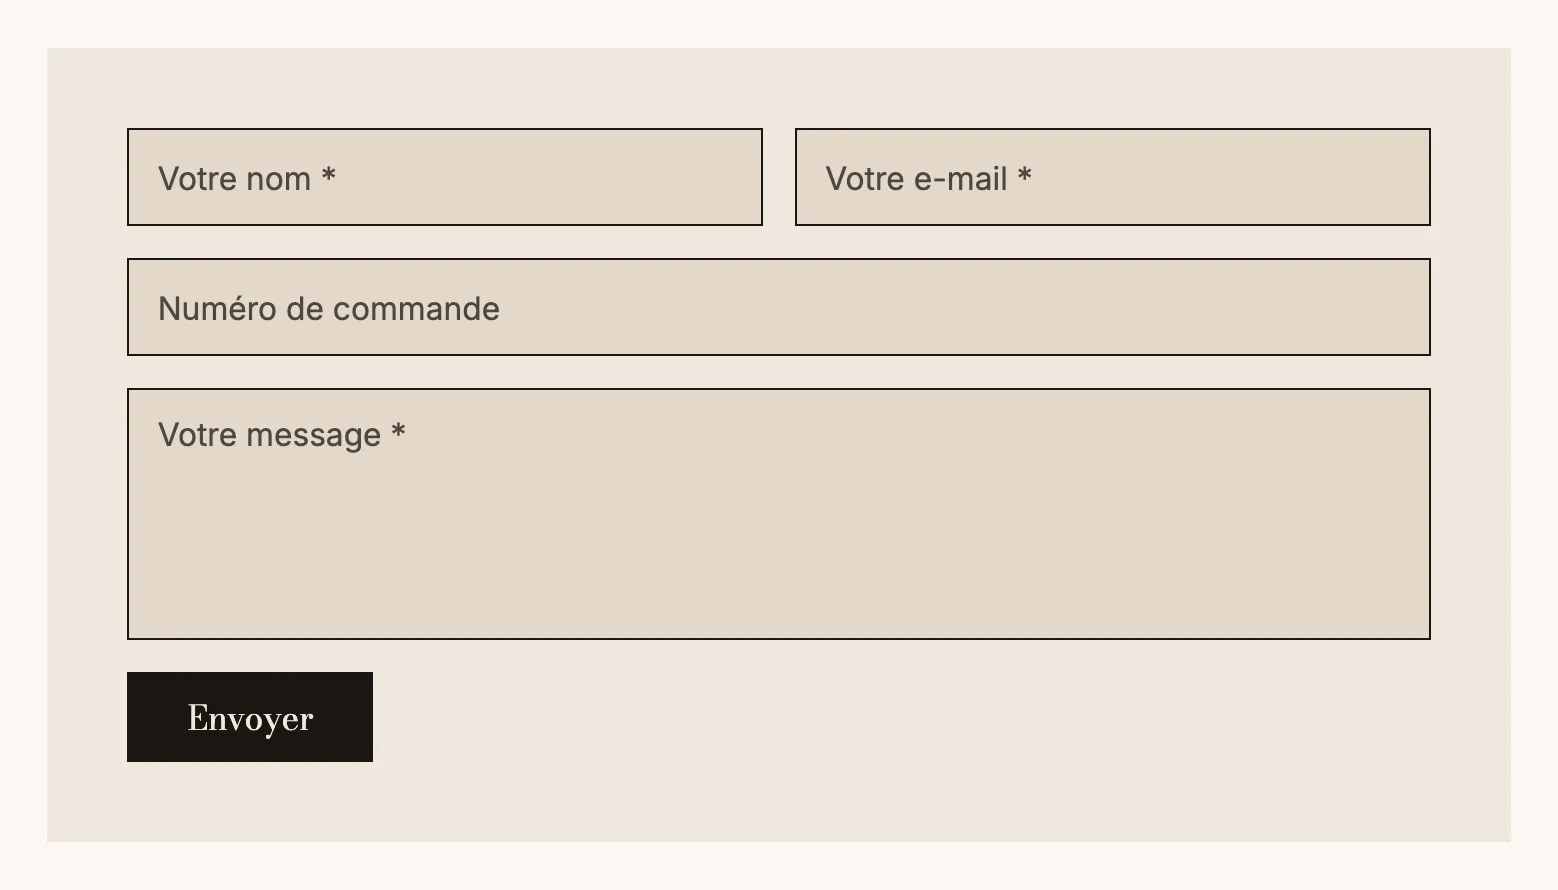
Other form settings
Click Contact form itself to set:
- Labels: Inside the fields or Above the fields;
- Consent: None, Required checkbox or Information text (a note on how data is used);
- Button label and Confirmation message, shown after sending;
- Background: None, or a Color palette to set the form apart from the rest of the page.
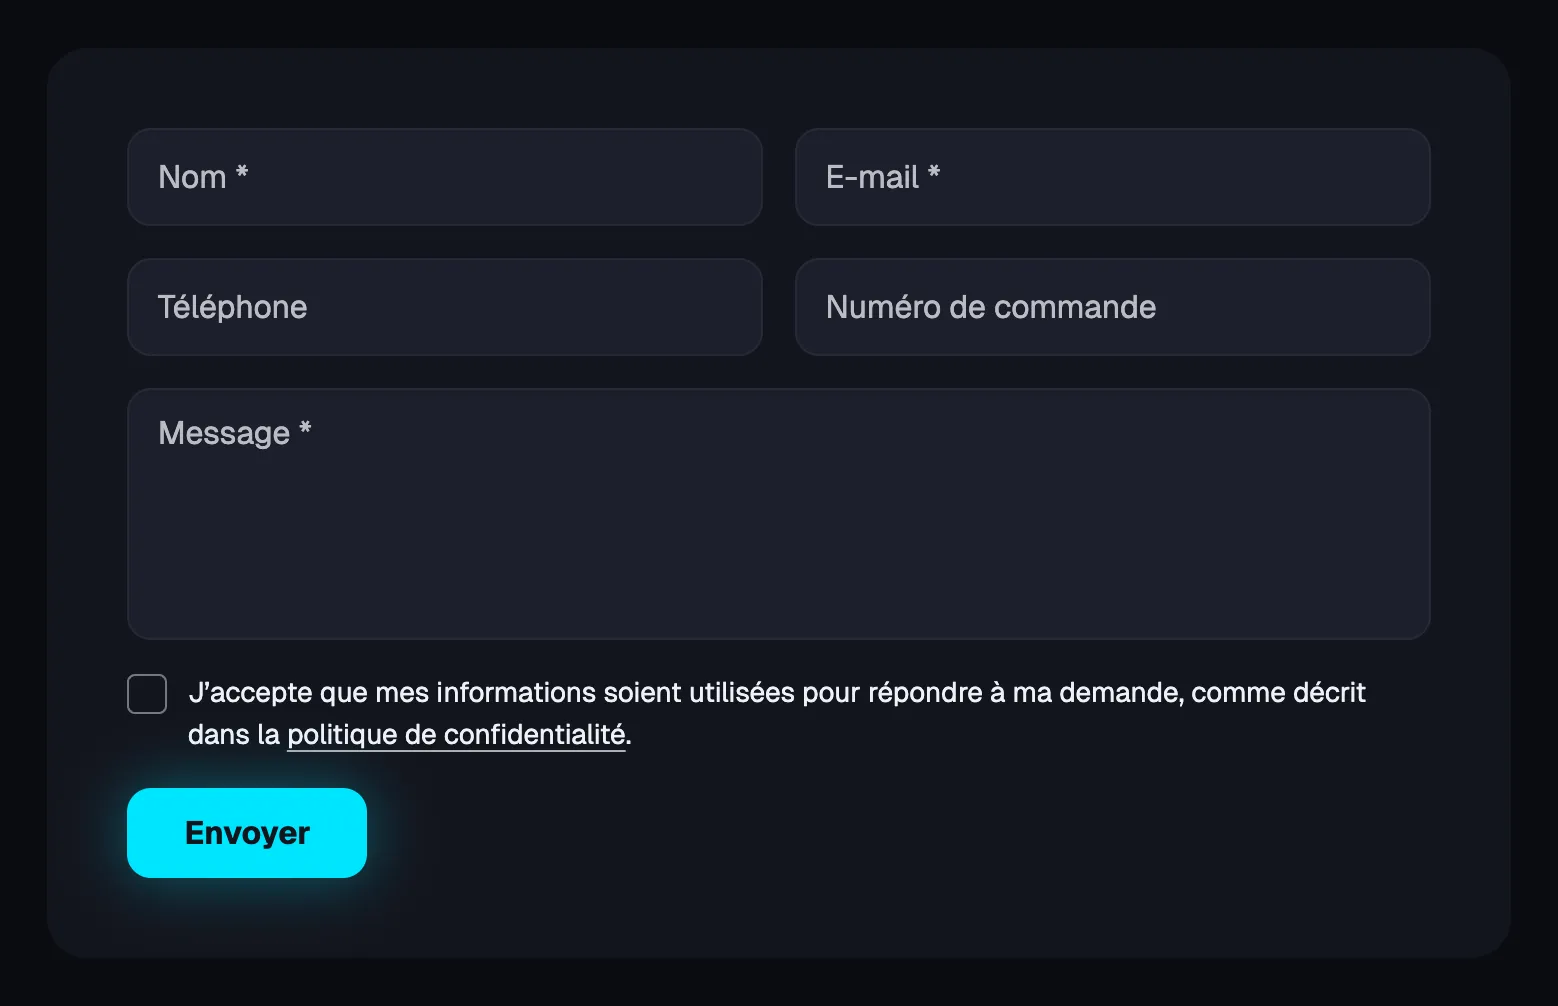
Every field type is described in Form blocks.
4. Where do messages go?
Messages are sent to your store's email address, set in Shopify's Settings > General. After saving, send yourself a test message from the live page to check that it arrives, and look in your spam folder the first time.
5. Adapt the frequently asked questions
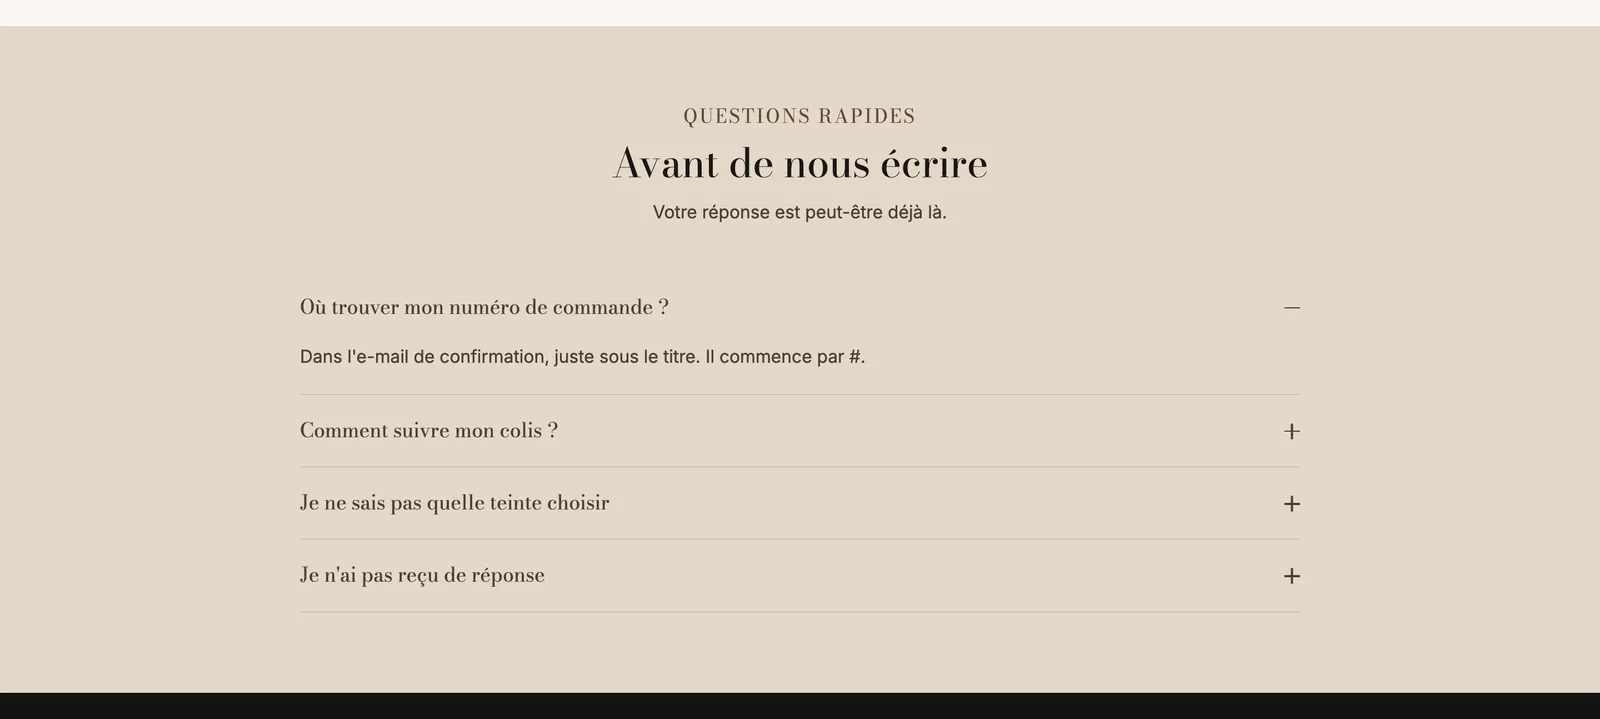
Below the form, an FAQ section answers the most common questions (response time, order number, tracking, returns). Replace these sample questions with your own: every good answer is one less message to handle. See Create an FAQ page.