
Add a before/after slider and a comparison table
Show your product's effect with a before/after slider, and compare it to the competition or to your other products in a clear table.
Two arguments win a visitor over fast: seeing your product's results, and understanding at a glance why to pick it over another one. The Story Theme includes both, with no app: a Before / after slider and a Comparison table. For details on every setting, see also the Before / after section and the Comparison table section.
Add a before/after
Visitors drag a slider to reveal the "after" image over the "before" image.
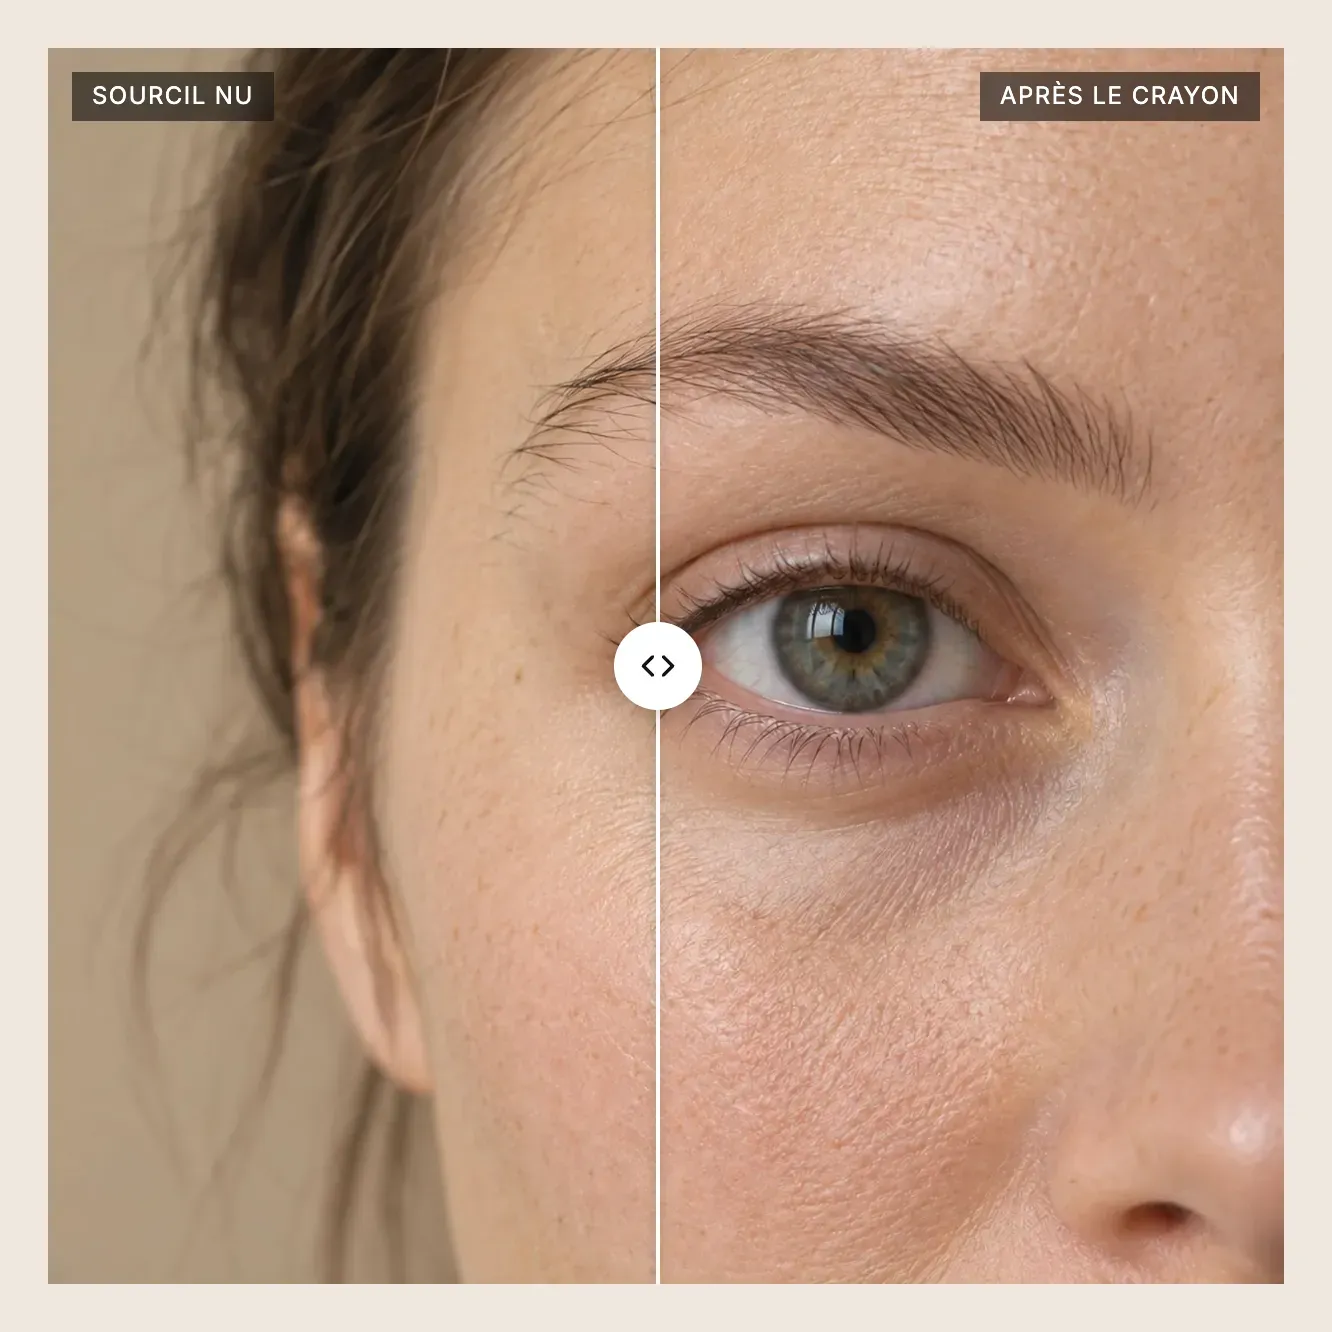
- In Online Store > Themes, click Edit theme, then open the page you want (for example Home page).
- Click Add section, Media category, then choose Before / after (with a heading above) or Transformation (the slider next to a text).
- Click the Before / after block in the left column.
- Choose the Image before and the Image after.
- Fill in the Before and After labels (for example "Without" and "With"), then their Position: Top or Bottom.
- Click Save.
Useful settings
| Setting | What it does |
|---|---|
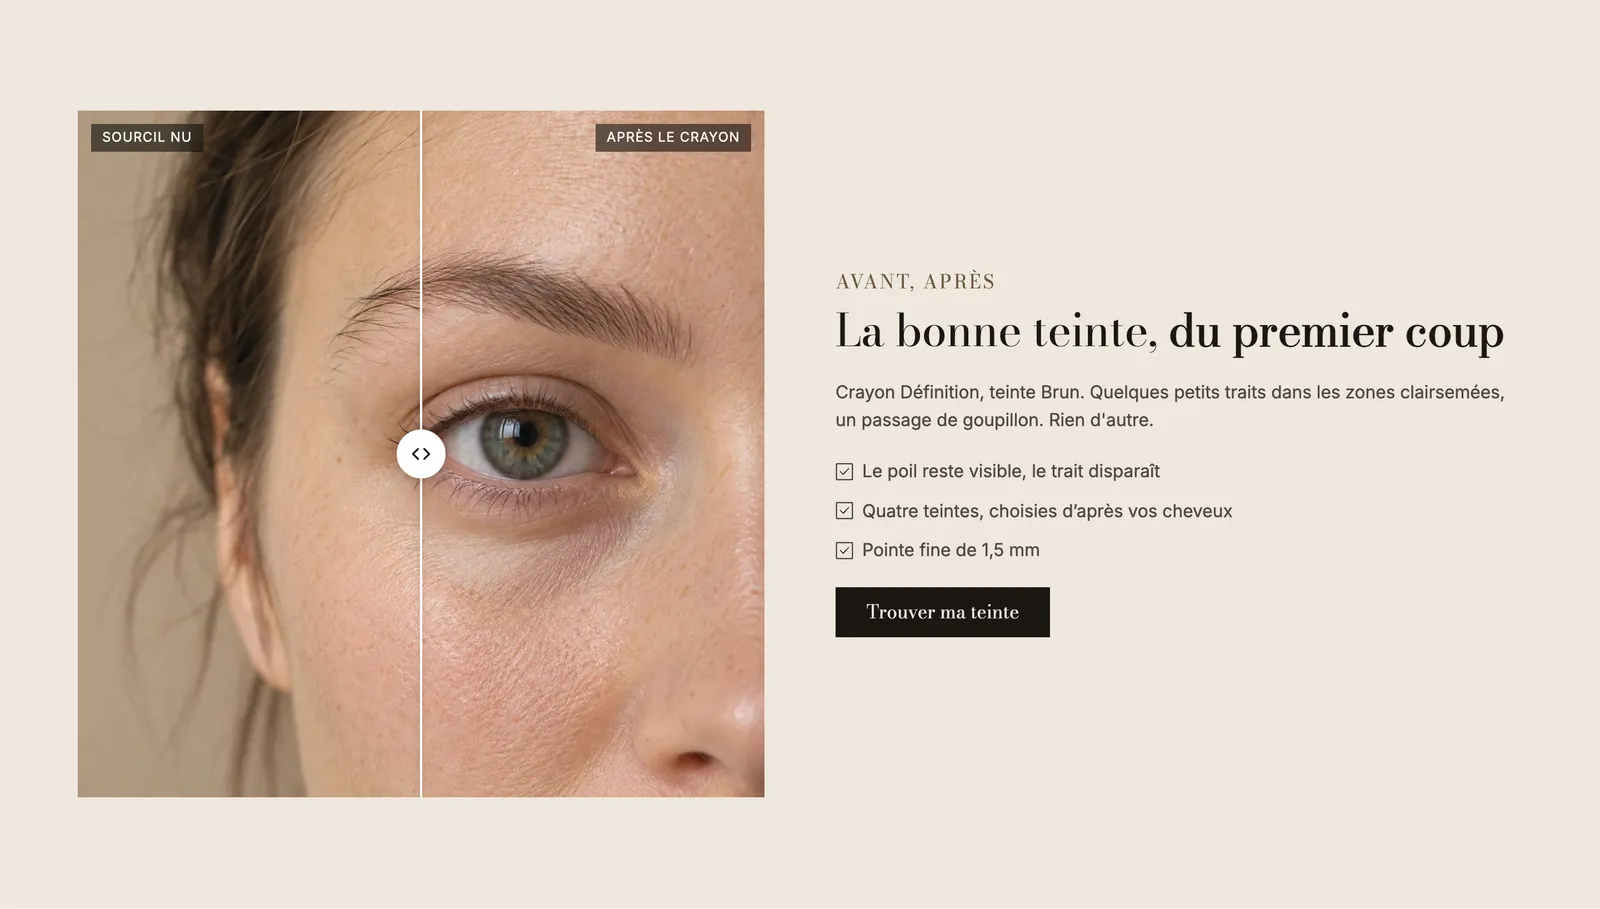
| Direction | Horizontal (the slider moves left to right) or Vertical (top to bottom). |
| Image height | Adapt to image, or a fixed format: Small, Medium, Large, Square, Portrait, Landscape. |
| Start position | Where the slider sits when the page loads (50% by default, in the middle). |
| Move the handle when it comes into view | The slider moves on its own for a moment, to show that it can be dragged. |
| Customize colors | Changes the Divider color, the Handle background and the Arrows color. |
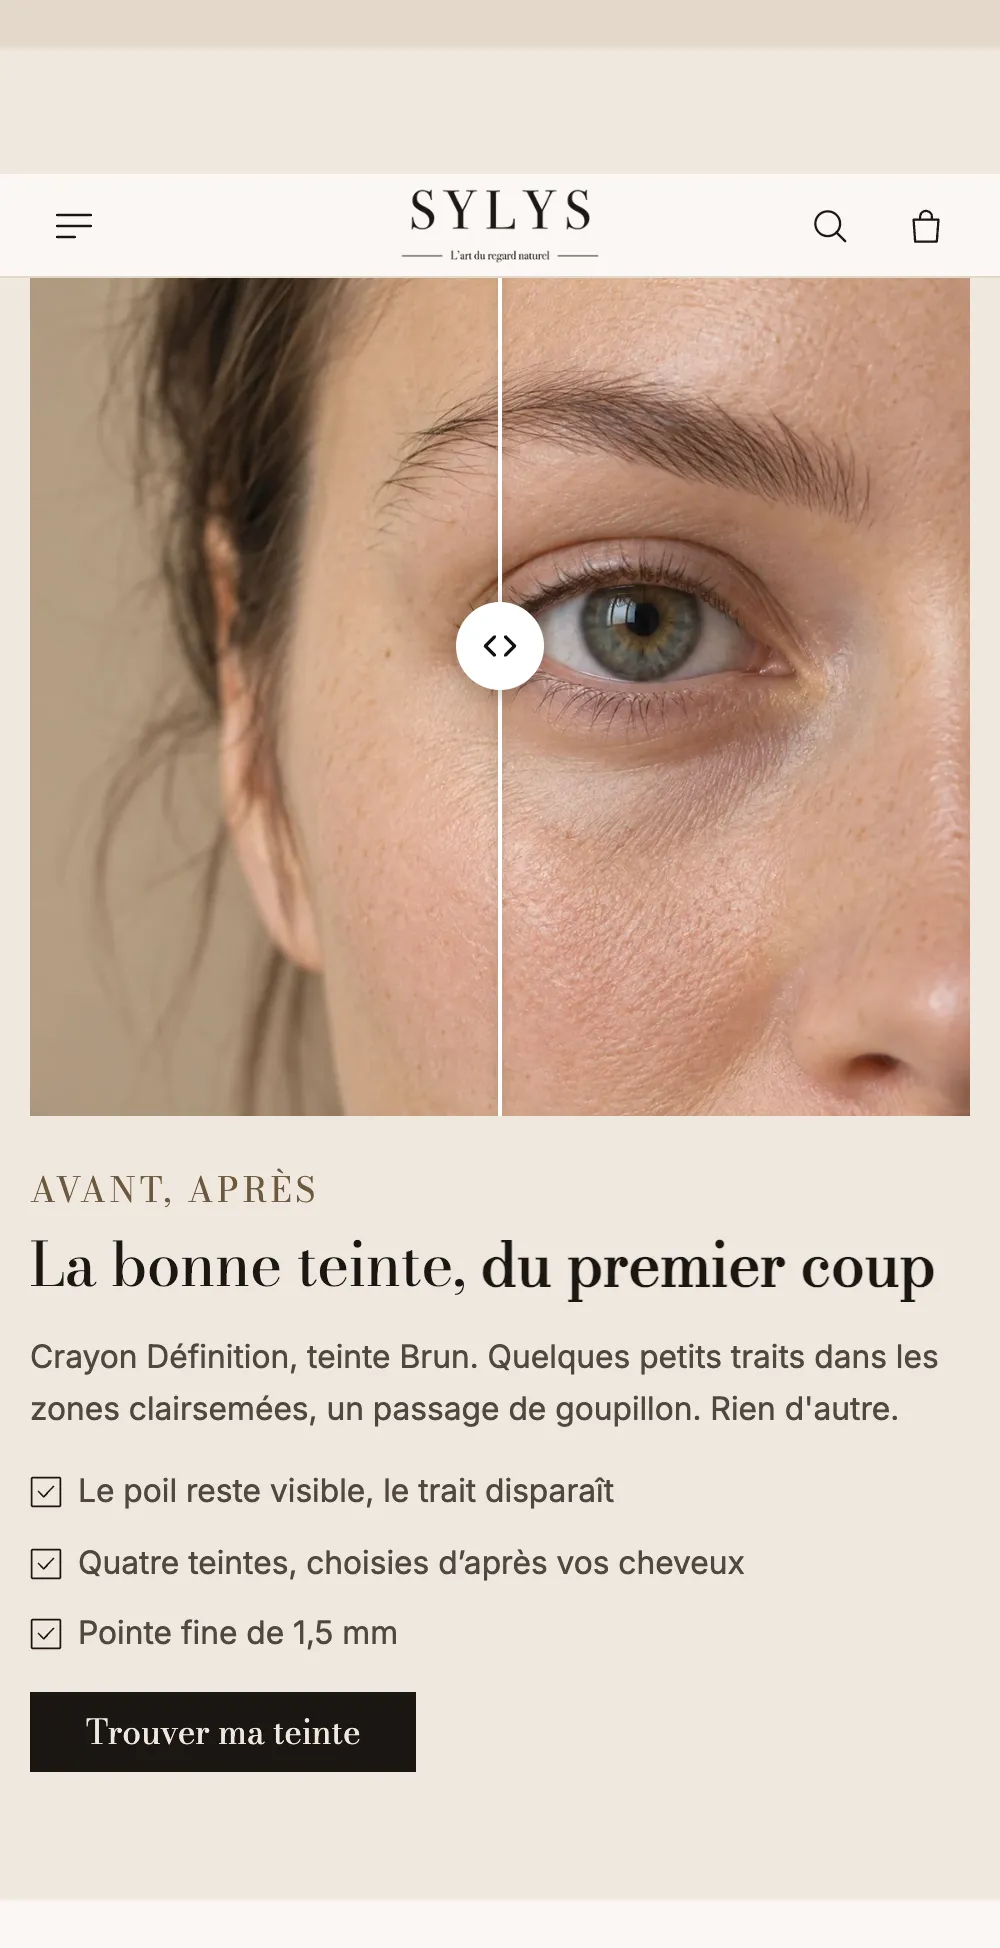
On mobile, the slider moves above the text and keeps the full width of the screen:
The Before / after block can also be added inside another section, for example on the product page: click Add block and search for "Before / after". See media blocks.
Add a comparison table
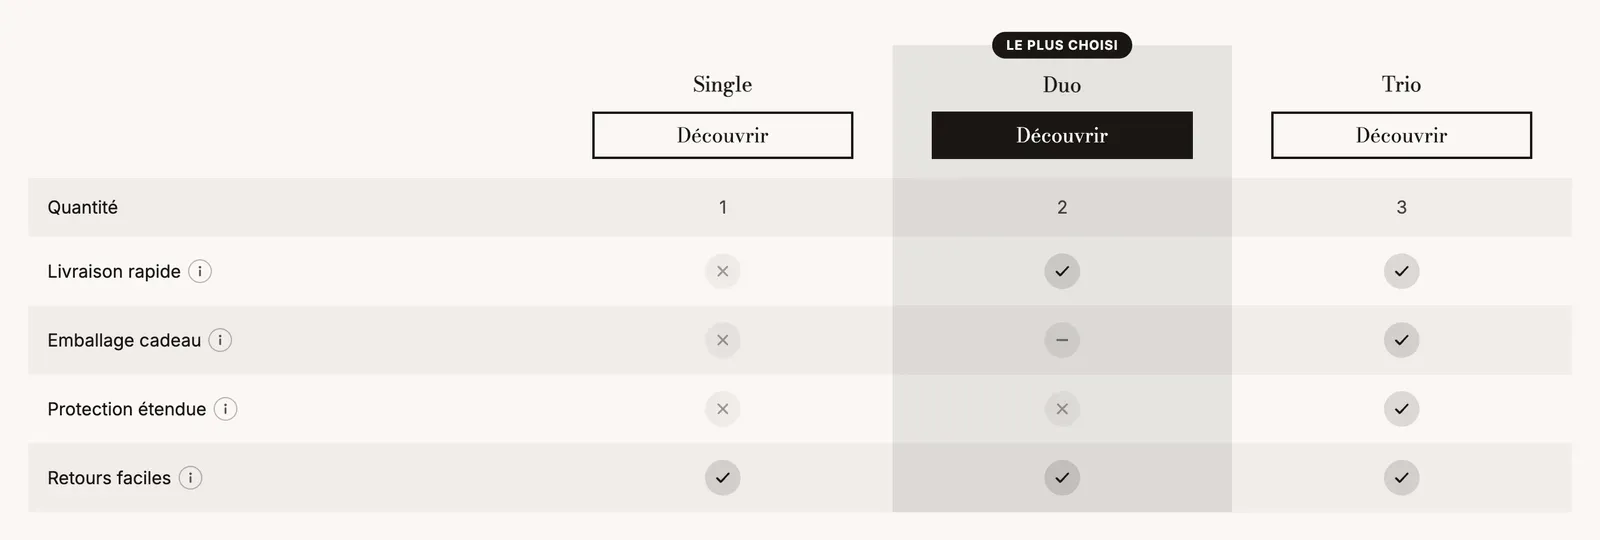
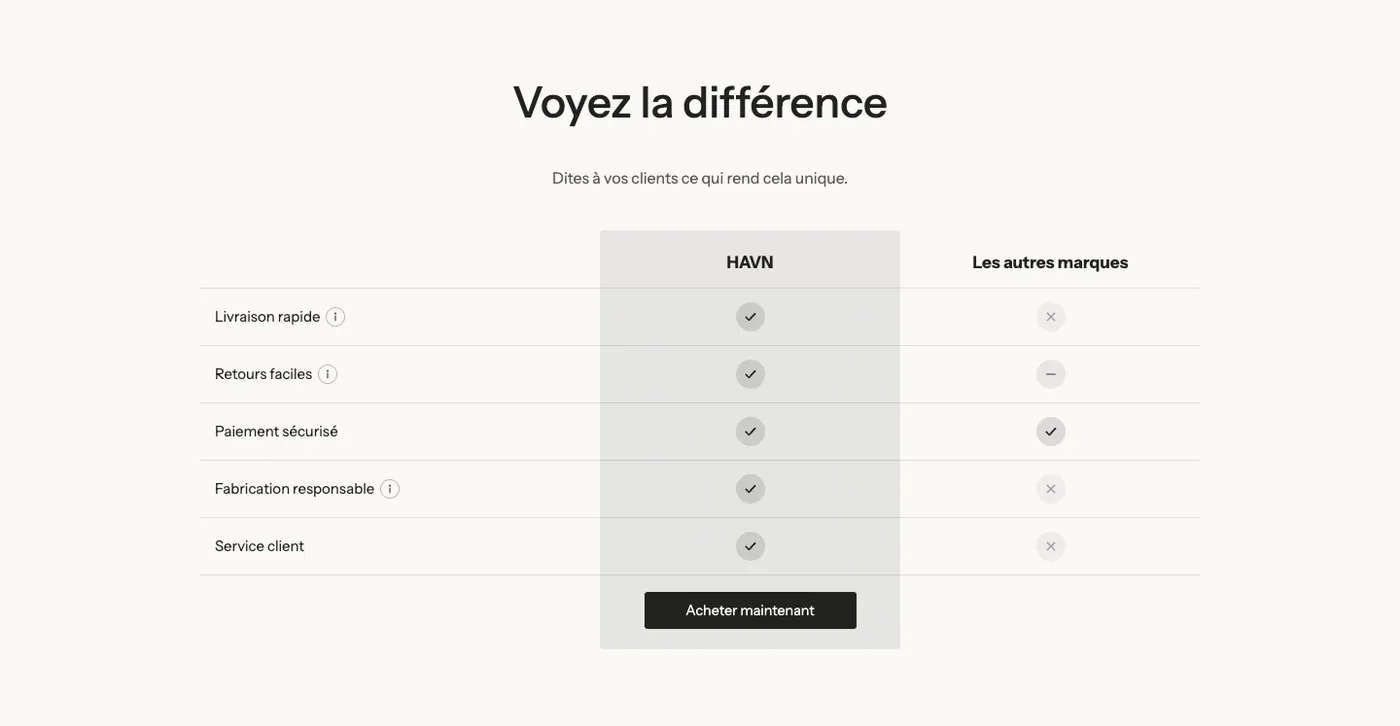
The table shows your columns (your product, a competitor, your other plans) and rows of features with checkmarks, crosses or text.
- In the theme editor, click Add section, Selling points category.
- Choose Us vs them (your brand against the others) or Product comparison (your products against each other).
- Expand the Comparison table block: it contains two groups, Columns and Rows.
Set up the columns
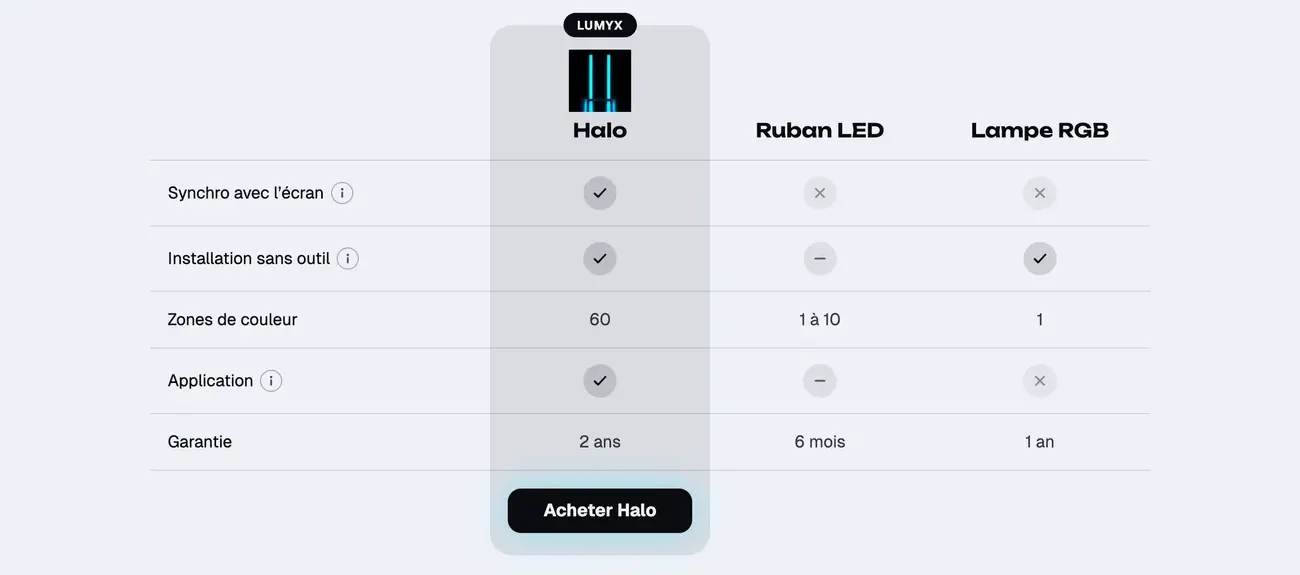
Each Column block is a column of the table. You can have up to five.
- Click a Column.
- Choose a Product: its name, image, price and button link fill in automatically. Otherwise, enter a Name and choose an Image.
- Check Highlight this column on your column, and add a Badge text if you like (for example "Most popular"). If you leave the Name empty on the highlighted column, your store name is shown.
- In the Button group, fill in Button label and Link.
Set up the rows
Each Row block is a feature being compared.
- Click a Row and enter its Label (for example "Free shipping").
- Add an Information text if the row deserves an explanation: it shows in a tooltip.
- In Value 1, Value 2, etc., choose the Type for each column, in column order: Checkmark, Cross, Partial, Custom (an icon of your choice) or Text.
- To split the table into parts, set the row's Type to Category title.
The table's appearance
Click the Comparison table block itself to set:
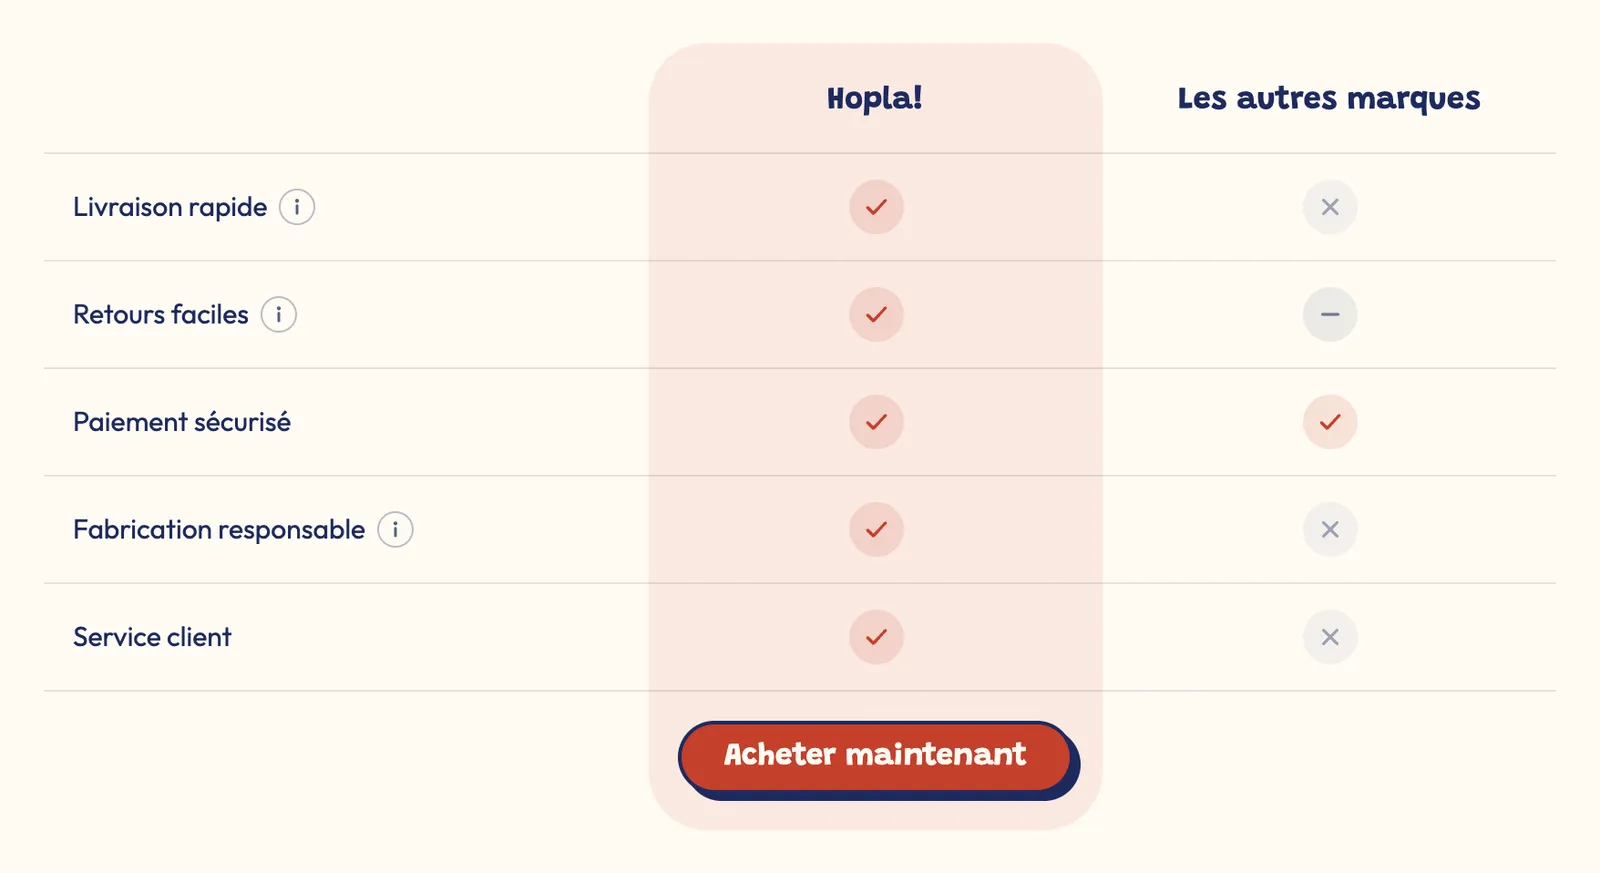
- the Style: Minimal, Striped rows or Card;
- the Sticky header, which keeps the column names visible when the table is long;
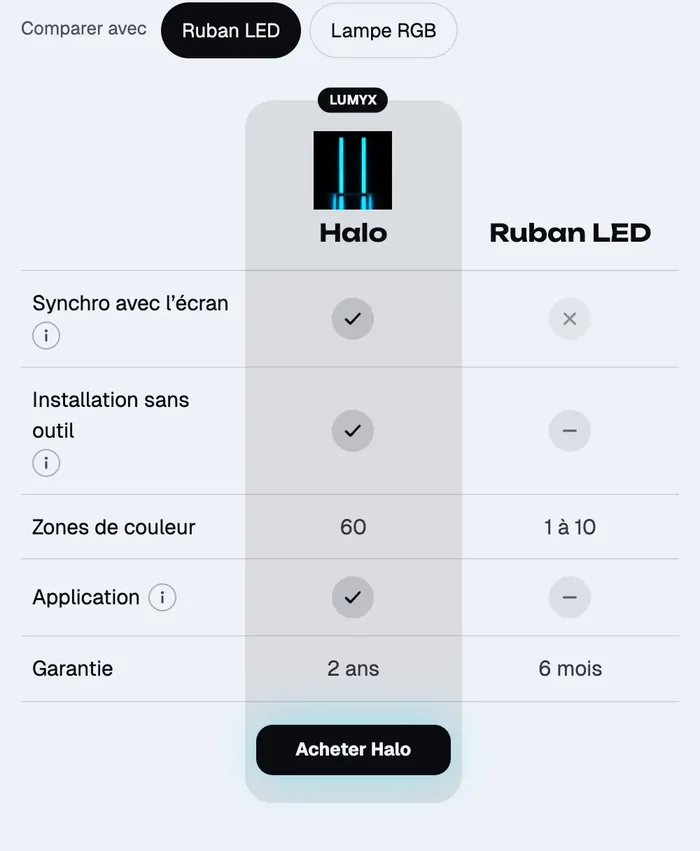
- the Mobile layout: Swipe sideways, or Highlighted column against another one (the customer picks the column to compare with yours);
- the style of the highlighted column (Tint, Solid or Outline) and the button position (Top or Bottom).
The Comparison table block is one of the selling point blocks: it can also be added to any composed section.
Frequently asked questions
Can I put the table on the product page?
Yes. On the product template, click Add block in the Product page section and search for "Comparison table". See Structure of the product page.
My before/after slider doesn't show
Check that both images are selected. As long as one image is missing, the theme shows an illustration instead.