
Create an "Our story" page that builds trust
Tell your brand's story with the page template included with the Story Theme, then enrich it with a timeline, text reveal or key figures.
Before buying from a brand they don't know, visitors want to know who's behind it. The "Our story" page answers that question. The Story Theme includes a template ready to fill in and several sections designed to tell a story: a timeline, text that reveals itself as you scroll, numbers that animate.
1. Create the page in Shopify
- In your Shopify admin, open Online Store > Pages, then click Add page.
- Enter the title, for example "Our story". The content can stay empty.
- Under Theme template, on the right, choose story.
- In Search engine listing, check that the URL handle is
story. - Click Save, then add the page to your menu. See Create a page and add it to the menu.
2. Fill in the included template
Open Online Store > Themes > Edit theme, then choose Pages > story from the dropdown at the top. The template contains five sections, to fill in order:
| Section | What you put in it |
|---|---|
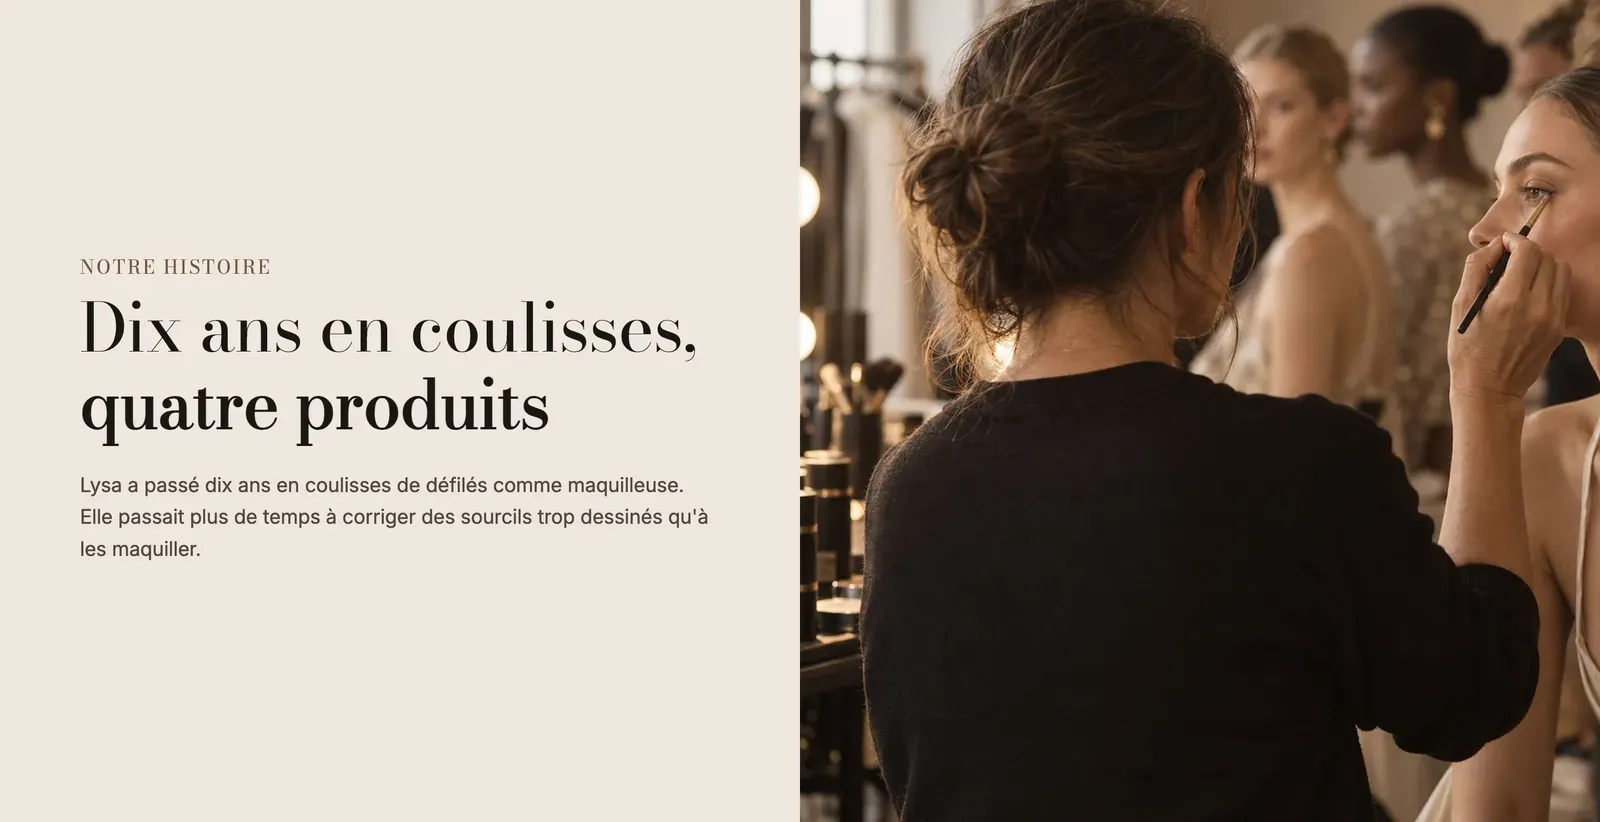
| Banner | A large photo of you, your workshop or your product, the page title and a catchy line. |
| Rich text | Your mission in one strong sentence, with a button. |
| Image with text | The story: how it all began, with two photos and a customer testimonial. |
| Multicolumn | Your four commitments, each with an icon, a heading and a short text. |
| Newsletter | An invitation to follow the brand. |
- Click each block (Heading, Text, Image, Button) and replace its sample content.
- For the banner, choose the Image in the section, and a Media effect if you want some motion (Slow zoom, Parallax, Zoom on scroll).
- For the commitments, change each column's Icon from the theme's library, or upload your own in Custom icon.
- Click Save.
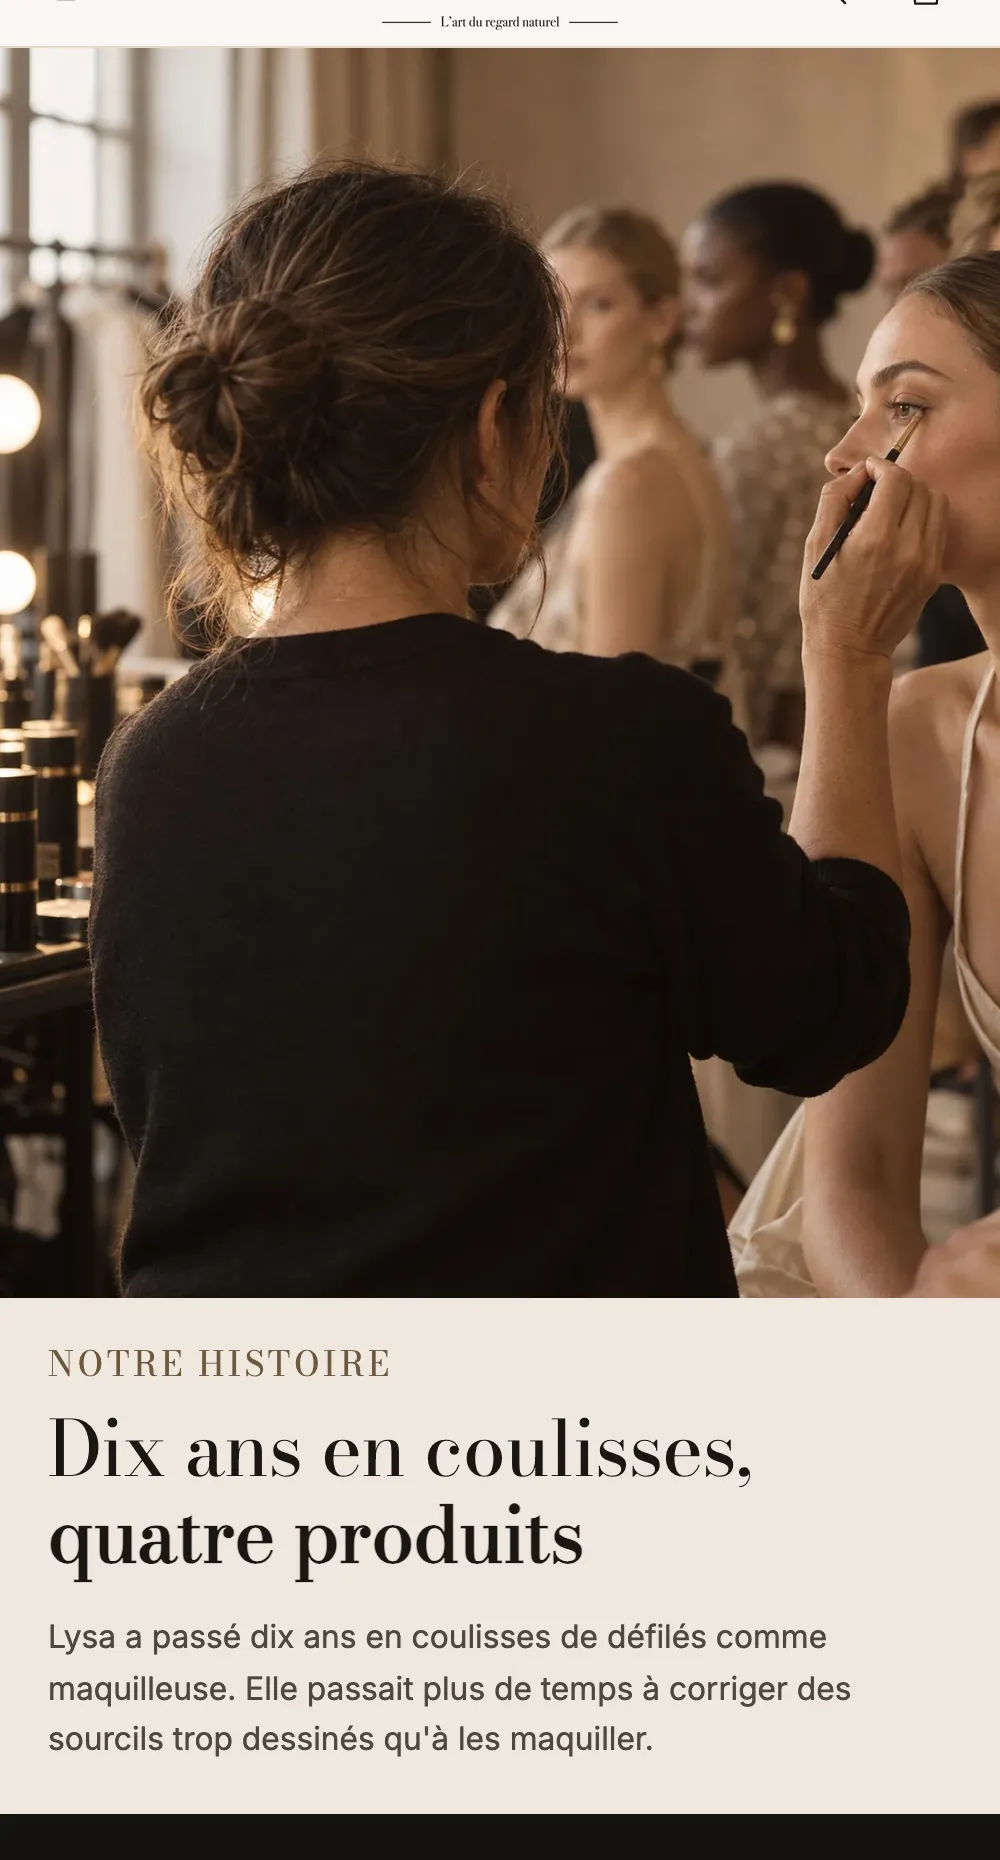
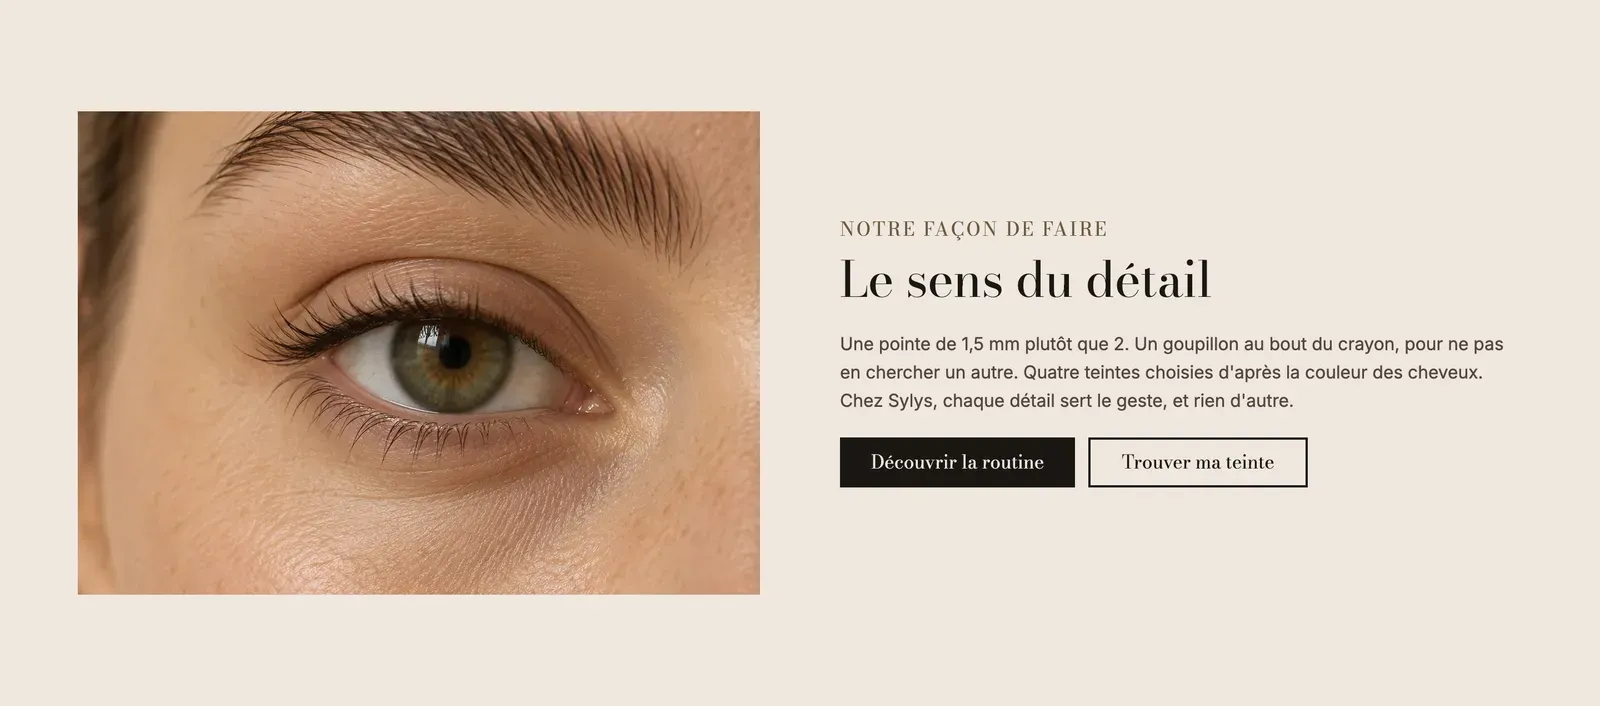
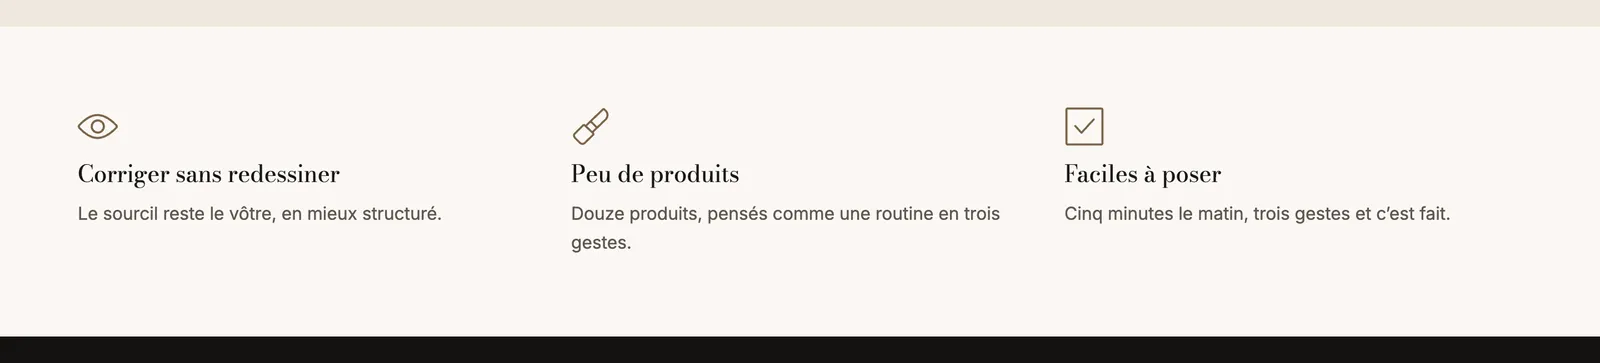
Each section of the template has its own reference article: Banner, Rich text, Image with text, Multicolumn and Newsletter.
3. Add a timeline
The timeline tells your brand's key milestones, with a line that fills in as the visitor scrolls down.
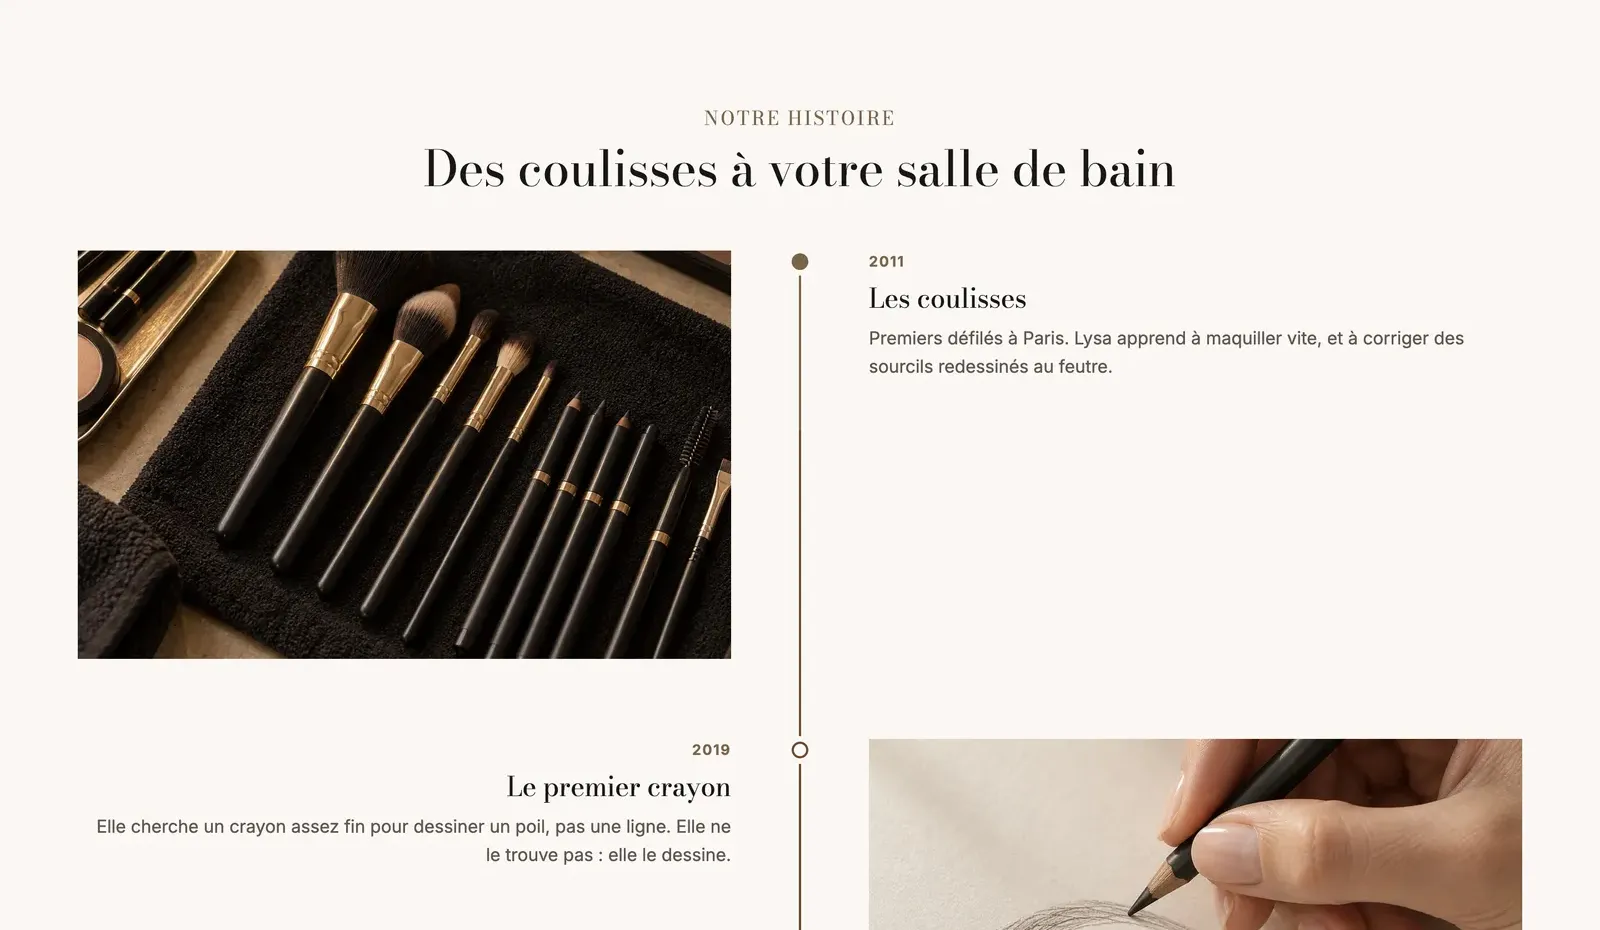
- Click Add section, Text category, then choose Our story (the variant of the Timeline section).
- Expand the Timeline block: each Step has a Subheading (the year, for example 2019), a Heading, a Text, and an optional Image and Icon.
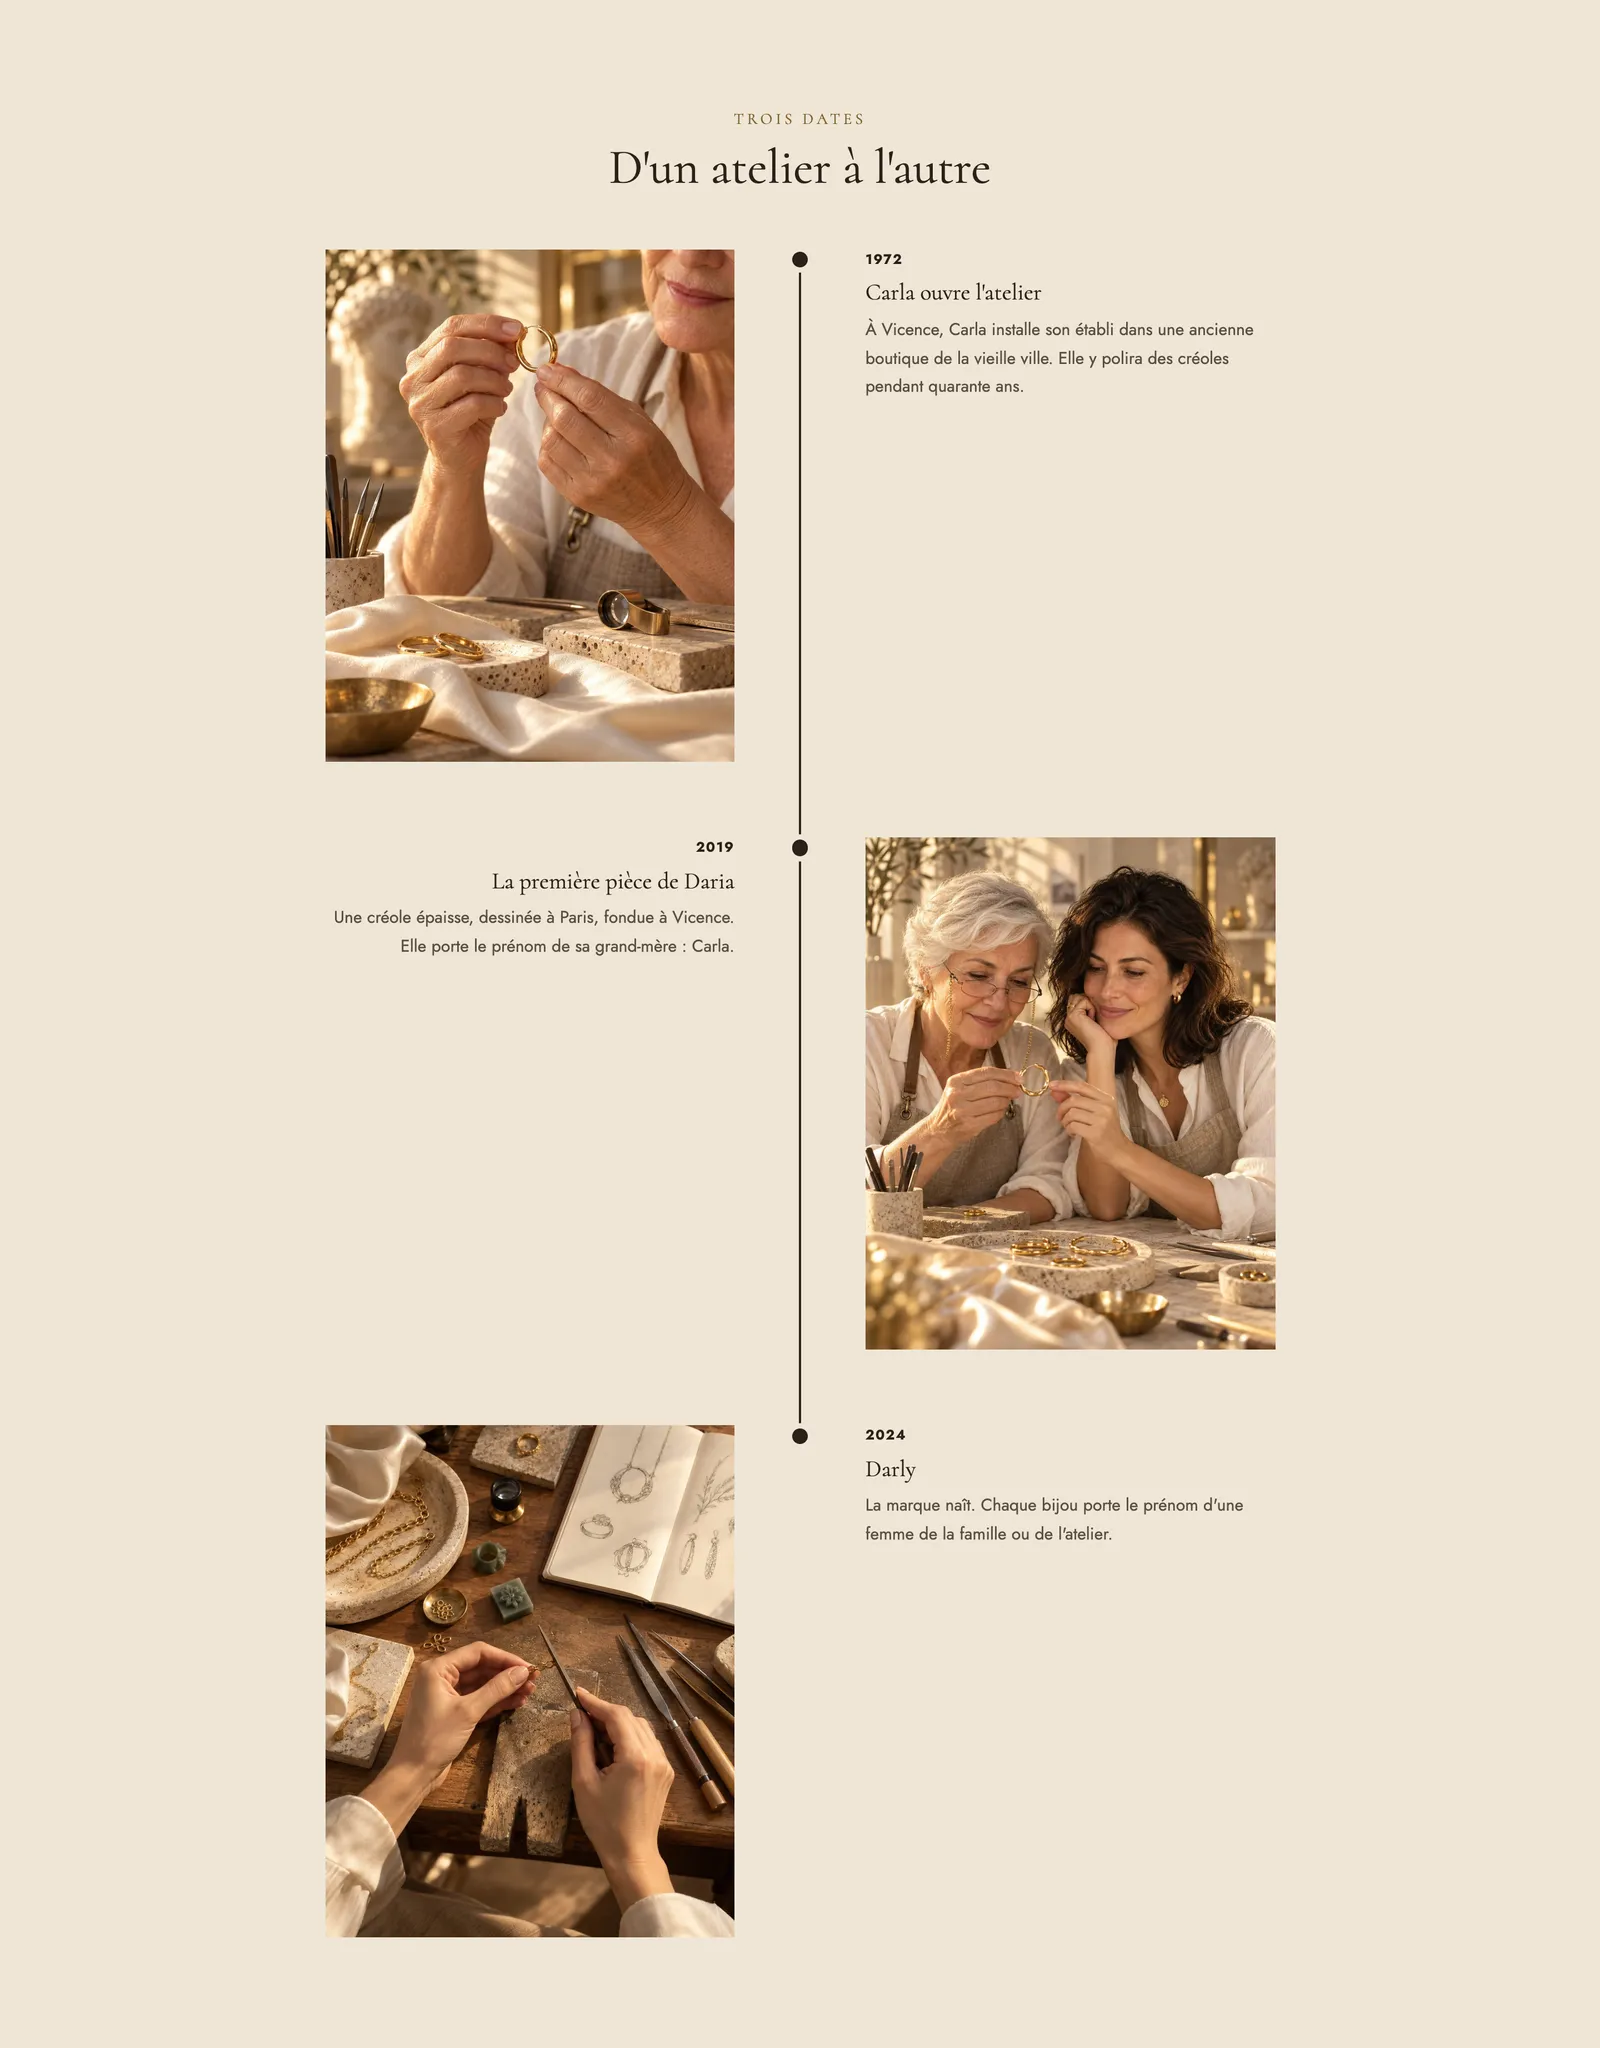
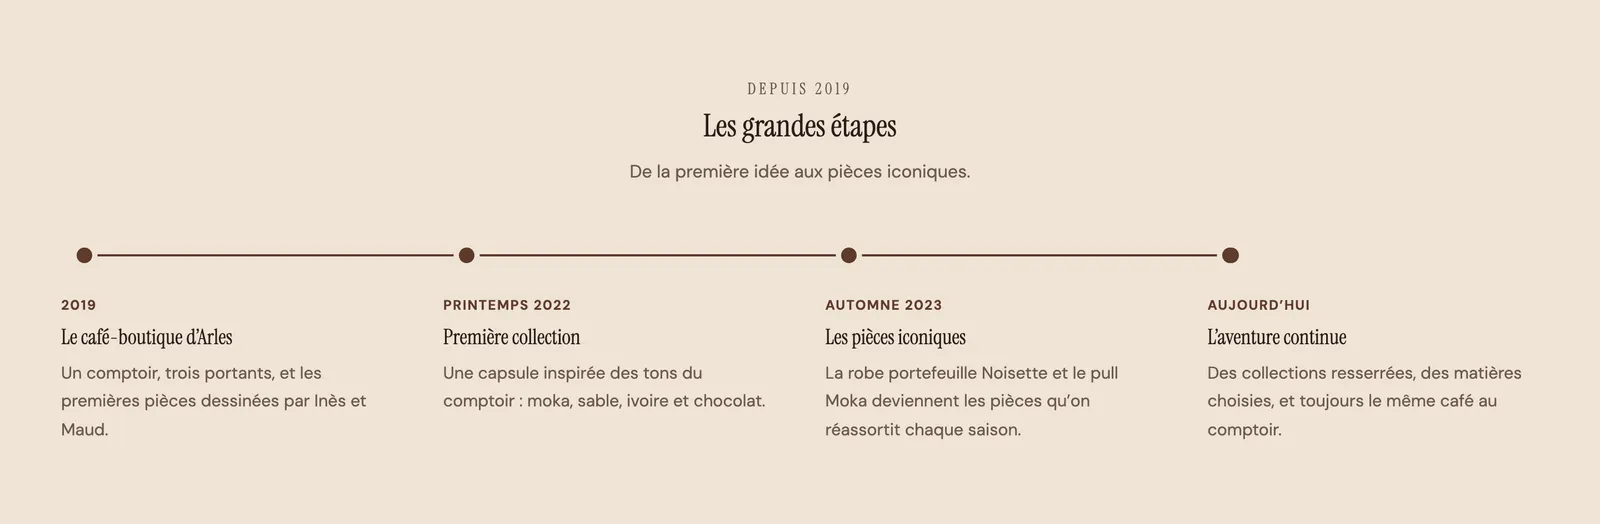
- Click the Timeline block itself to choose the Layout: Vertical, Alternating (as above) or Horizontal.
- Under Marker, choose the Style of the points: Dot, Numbers, Icon or Image.
- Leave Fill the line while scrolling checked for the progress effect.
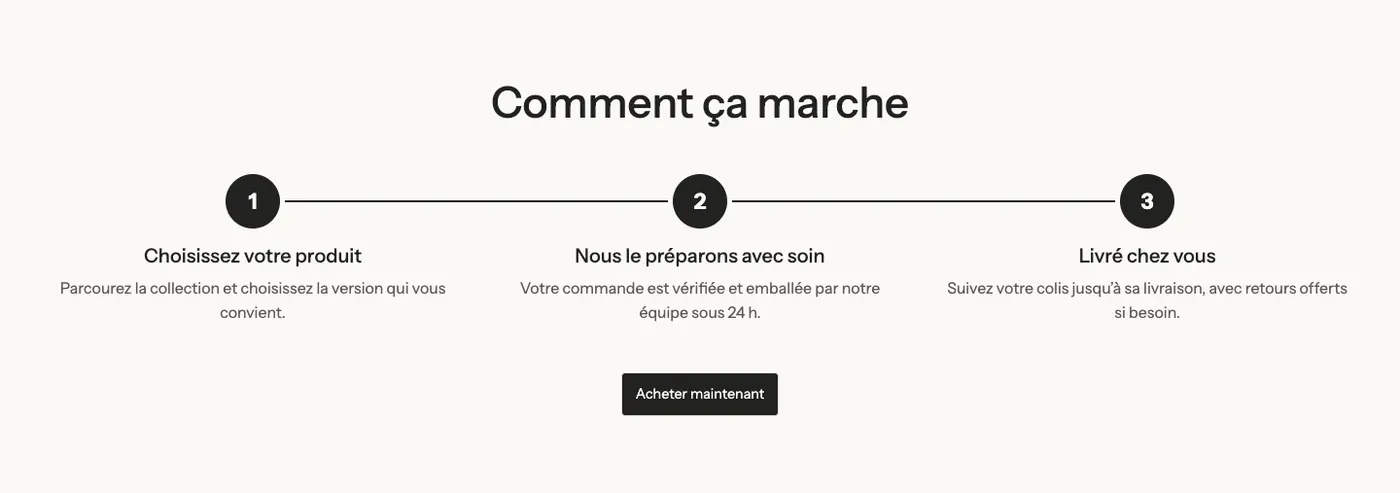
The How it works variant uses the same timeline to explain a process in numbered steps:
See also the Timeline section.
4. Take the storytelling further
Other sections lend themselves well to storytelling. Add them with Add section:
- Text reveal: a block (Scroll effects category) whose words light up as you scroll. Ideal for your manifesto. Put words in bold to make them stand out in another color (Color of bold words).
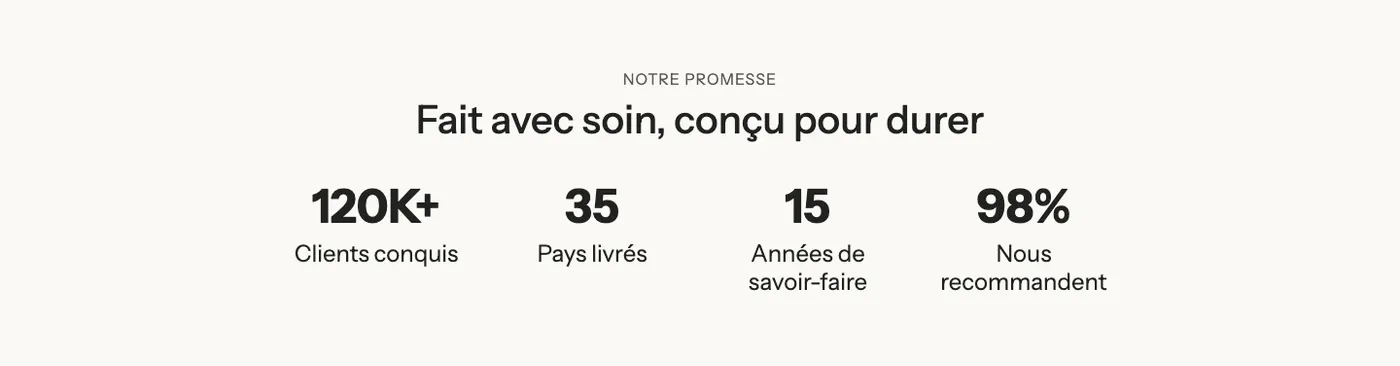
- Statistics (Key figures): numbers that count up as they appear, like "12,000 customers" or "4.8/5".
- Gallery (Lookbook): behind the scenes in pictures.
- Scrollytelling or Stacking cards: the steps of making your product, one per screen.
- Testimonials: what your customers say about you.
- Video: a filmed introduction, often more convincing than a long text.

See A tour of the sections, Animations and effects, the Statistics section, the Scrollytelling section and the Gallery section.