
Newsletter section: signup, image and discount code
Collect emails with the Newsletter section, add an image or a discount code revealed after signup, and find your subscribers in Shopify.
The Newsletter section shows an email field so your visitors can subscribe to your emails. Subscribers go straight into Customers in your Shopify admin, as marketing subscribers. Place it at the bottom of the home page, on an "Our story" page or at the end of a product page.
The presets
Newsletter
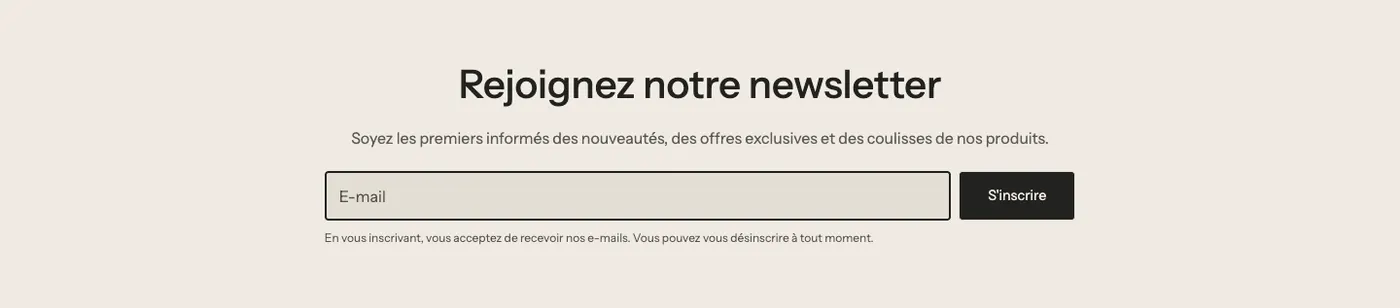
A heading, a text and the form, centered on a colored band. The simplest preset, which fits anywhere.
Newsletter with image
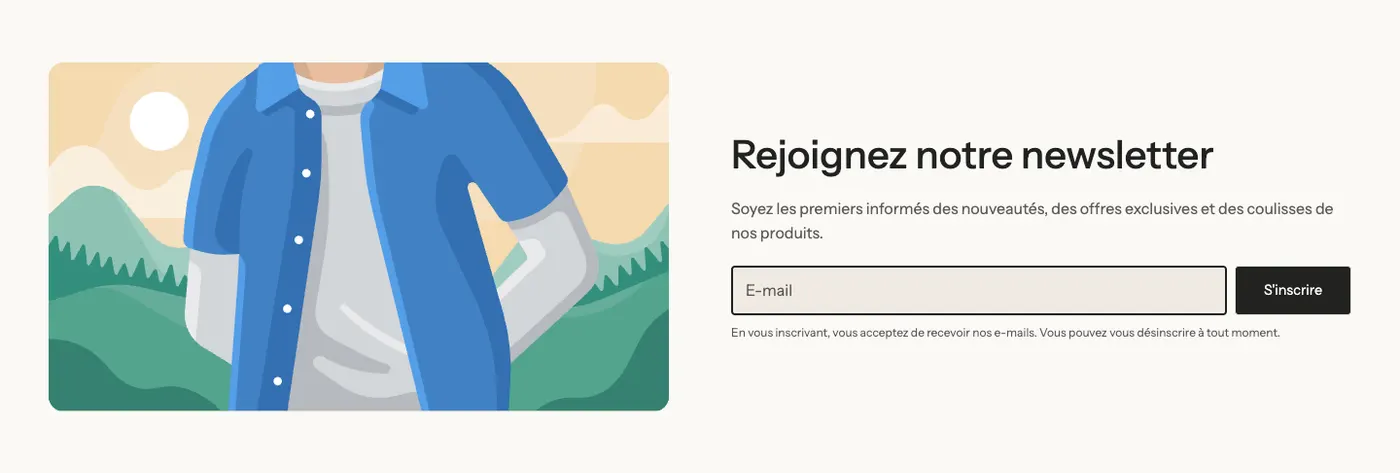
An image on the left, the text and form on the right. A photo of your product or your world makes signing up more engaging.
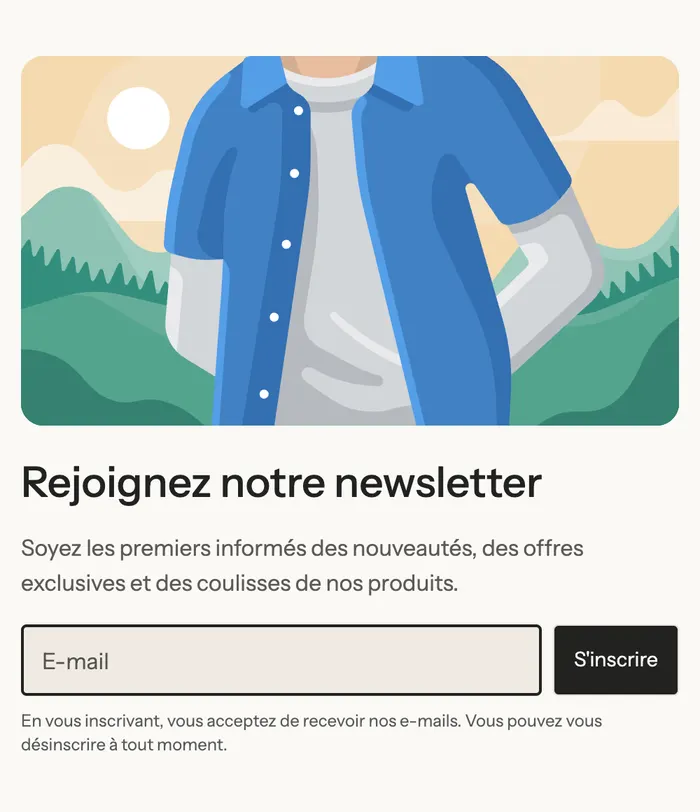
On mobile, the image moves above the text:
Newsletter with discount
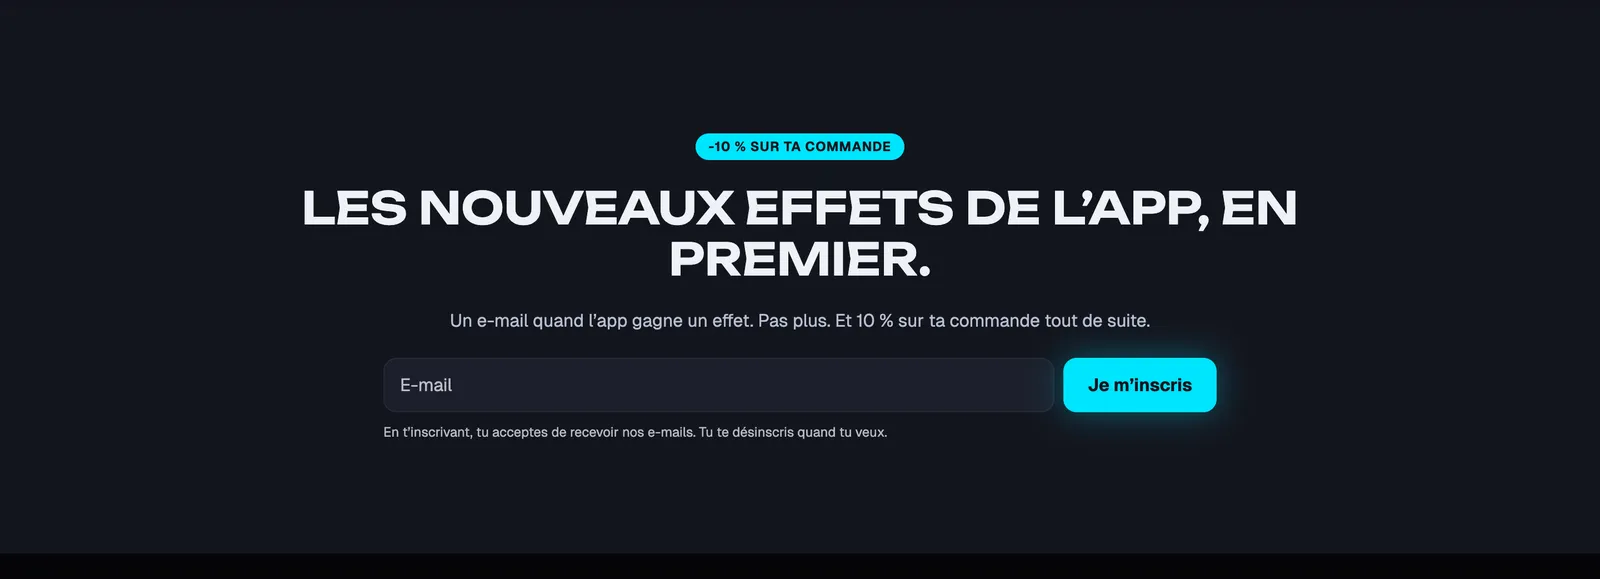
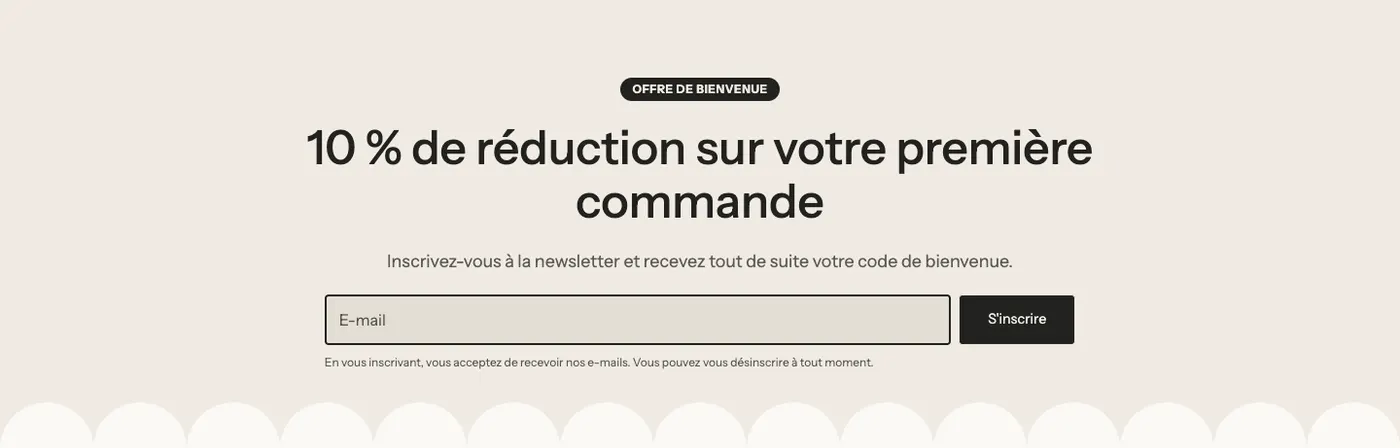
A badge ("Welcome offer"), a heading announcing the discount and the form. This is the preset to choose to offer a welcome code: after signup, the code shows with a Copy button. The Lumyx section at the top of this page follows this approach.
Add the section
- Open Online Store > Themes > Edit theme.
- Choose the page from the dropdown at the top.
- Click Add section, open the Forms and contact category and choose Newsletter, Newsletter with image or Newsletter with discount.
- Replace the texts, then click Save.
The section's blocks
| Block | What it's for |
|---|---|
| Newsletter | The email field, the button and the consent. |
| Heading, Text | The hook and the promise (what the subscriber will receive). |
| Badge | The label above the heading (discount preset). |
| Image, Group | The photo and the text column (image preset). |
The Newsletter block
- Button: Arrow inside the field (default), Next to the field or Below the field, with Button label and Button style.
- Field label: the text inside the field (empty = translated default text).
- Ask for the first name: adds a first name field.
- Customer tags: tags added to the customer profile,
newsletterby default. Handy for sorting your subscribers by source (e.g.newsletter, homepage). - Collect phone numbers for SMS: adds an optional phone field; the SMS consent checkbox becomes required as soon as a number is entered, and the Tag for SMS consent (
sms-consentby default) is added to the customer. - [Consent] Marketing consent: None, Information text or Required checkbox.
- Confirmation message: the text shown after signup.
- Discount code to reveal: the code shown with a Copy button after signup.
The section settings
The section has no settings of its own: it uses the shared frame (Layout, Color palette, Separators, Animations). A colorful palette and a separator (like the scallops of the discount preset) set it apart from the rest of the page. See Understand the theme editor.
Tips and pitfalls
- The Discount code to reveal doesn't create the discount: first create the code in Discounts (see Create a discount code), otherwise the customer will get a code that doesn't work.
- Limit the code to one use per customer: anyone who signs up can see it.
- Say what the subscriber will receive and how often: it's the number one reason to sign up.
- If you collect numbers for SMS, keep the consent text clear and compliant with your country's rules.
- One Newsletter section per page is enough; pair it with a popup instead if you want more subscribers.