
The checklist before you launch your store
The steps to check before opening your Shopify store to the public, from setting up payments to a test order, with the checklist on your dashboard.
Before you open your store, a few settings save you from nasty surprises: a failed payment, forgotten shipping rates, a missing legal page. Your dashboard has a checklist to track your progress; this article goes through each step and points you to the right article.
Follow the dashboard checklist
- On the Dashboard, the Your next step panel shows the next box to check.
- Click See every step to open the full Get your store ready list, with the progress counter (for example 12 of 19).
- Check off steps as you go. Your progress is saved.
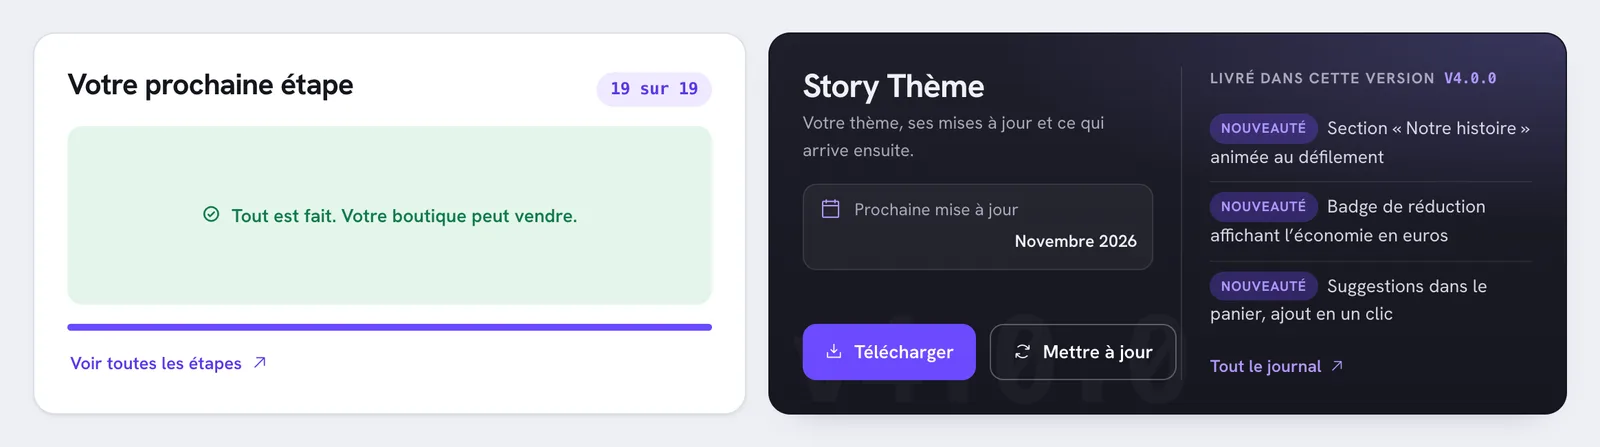
The boxes are reminders: nothing is checked automatically on your store. When everything is checked, the panel shows All done. Your store can sell. The Reset button unchecks every box.
1. Set up the Shopify account
- Create your Shopify account and Fill in your personal and company details: company name, address, contact details. They appear on your invoices and legal pages.
- Set up your billing details: the card Shopify uses to bill you for your plan.
- Set up shipping options: zones, rates, free shipping. See Set up shipping.
- Set up payments (Stripe / Shopify Payments): how your customers pay you, in Settings > Payments. Without it, nobody can place an order.
- Import the Story Theme: see Install the Story Theme on your Shopify store, then Add your store and activate the license.
- Create or import your products and Create collections, if relevant: see Add a product and Create a collection.
2. Build the site structure
- Create the pages: Contact, FAQ, Tracking, Reviews, About, Legal. See Create a page and add it to the menu, then the dedicated articles: Contact page, FAQ page, order tracking page, Our story page.
- Create the menus: header, footer, legal. See Menus, header and footer.
3. Set your brand identity
- Build your colour palette: Colorify helps you choose readable colors. See Colorify and Color schemes.
- Create the logo and favicon: see Logo, colors and fonts.
4. Design the pages
- Home page: structure, copy, visuals. See Build your home page.
- Product pages: structure, copy, visuals. See Product page structure.
- Secondary pages: Contact, FAQ, and the rest, created in step 2.
5. Finish before opening
- Customise the cart and checkout: see Set up the cart.
- Check the rendering on mobile and desktop: in the theme editor, switch the preview to mobile, then browse the store on your own phone.
- Pick a Shopify plan and remove the password: as long as the store is password protected, visitors can't get in and Google can't read it. You remove the password in Online Store > Preferences once you've chosen a plan.
- Run a full test purchase: see below.

Checks you shouldn't skip
In addition to the checklist, check these points right before opening.
Domain and license
If you're connecting your own domain name, do it before opening, then update the store's domain in your member area: the license follows the primary domain. See Connect a domain name and Manage your stores.
A test order
Place a full order as a customer would: add to cart, discount code if you have one, address, shipping, payment, confirmation email. Use your payment provider's test mode, or place a real order that you then cancel and refund from Orders.
Speed and SEO
- Compress your images before uploading them. See Optimage and Improve your store's speed.
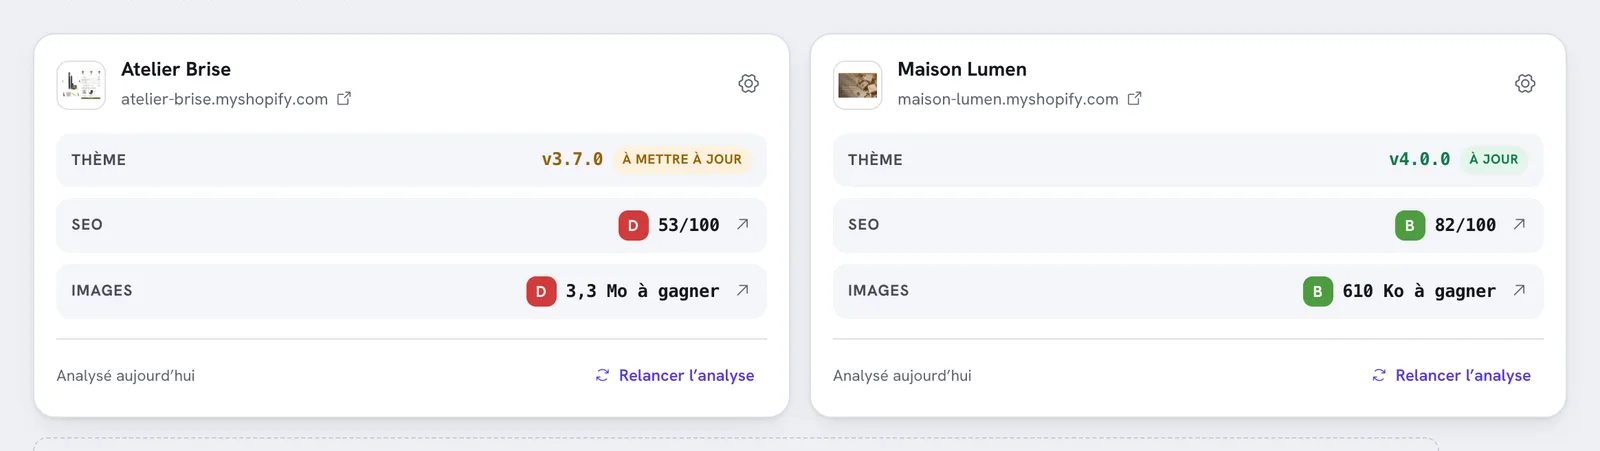
- Once the password is removed, check your store's SEO score on the dashboard and fix the To fix items. See Read your store's SEO report.
Copy and language
Proofread all your text, including the cart and order emails. If you sell internationally, see Translate your store.